How do I prepare and use the Halloween paper puppet craft kit?
Quick answer: Print the 28 cards with Print all 28. That gives you 24 character instructions in three groups plus four story cards. Pick the characters you want to offer and draw and cut the paper pieces to fit your lunch bags, because the pack doesn't include cutting templates. Make one sample puppet, then run the craft and a short puppet show. The example session for eight children takes about 40 minutes: 5 minutes to show the sample, 15 to build, 10 to dry and rehearse, and 10 to perform and pack up. The puppet ideas are meant for ages four and up. Have pieces cut ahead for anyone who needs help, and let children who don't want to perform read, make sounds or watch.
24 puppet ideas and four story cards
Print the text cards below. Choose a character from the first three groups; use the last four cards for the show. The random picker draws from all 28 cards.
How to play
- Choose a character and prepare its paper pieces before the party.
- Show how the bag flap opens, then let guests trade character cards before gluing.
- Help small groups attach pieces while other guests draw details.
- Put named puppets aside to dry while children rehearse a scene.
- Perform in pairs, finish with a group bow and pack the puppets to take home.
The finished puppet can be the take-home item, so you may not need a filled favor bag. Make sure each puppet is labeled with its maker's name and has a bag or flat spot for the trip home. Hosting a party without favor bags covers other ways to send guests home with something.
Some children may prefer a quiet game to rehearsing straight away. A deck of Halloween matching cards, prepared before the party, can sit at a separate table away from wet glue. You can print the pair list and make the cards in advance.
Draw one when the room is ready
Pumpkin pal — orange paper face over the flap, green stem triangle on top, black triangle eyes, marker zigzag grin
Flap-face quick builds
Eight simpler designs: one bag, a face on the flap and a few attached pieces. Allow extra time for details and drying.
- Pumpkin pal — orange paper face over the flap, green stem triangle on top, black triangle eyes, marker zigzag grin
- Ghost — white paper hood draped over the whole bag, two dot eyes, wavy scissor snips along the bottom edge
- Vampire — white paper face, black widow's-peak hairline, red marker fangs along the fold, tiny paper bow tie
- Black cat — black paper face, two triangle ears glued high, yellow paper eyes, yarn whiskers, pipe-cleaner tail taped inside the back
- Skeleton — white paper face on the kraft bag, marker teeth grid along the fold, cotton-swab ribs glued down the body
- One-eyed monster — green paper face, one giant googly sticker centered on the flap, three paper spikes across the top
- Candy corn cutie — white, orange, and yellow paper bands stacked up the body, simple dot eyes on the flap
- Mummy — torn white paper strips crisscrossed over the bag, two googly eyes peeking through the wraps
Costume builds
Eight designs with extra hats, wings or props. Prepare those pieces before guests arrive.
- Witch — purple triangle hat with a foil buckle, yarn hair loops at the flap sides, green marker face
- Frankenstein — green face, black flat-top hair, paper neck bolts on both sides, marker stitch lines
- Wizard — deep-blue hood with star stickers, gray yarn beard under the flap, rolled paper wand taped in a hand
- Scarecrow — tan patch squares on the cheeks, yellow yarn fringe under a paper sun hat, marker cross-stitch smile
- Spider — black bag body, eight folded-paper legs taped in pairs down the sides, googly eyes clustered on the flap
- Bat — black face with pointed ears, fan-folded wings taped wide across the back panel, white marker fangs
- Mad scientist — white paper lab coat on the body, wild yarn hair, marker goggles around the eyes
- Zombie — pale green face, mismatched eye stickers at crooked angles, torn paper shirt patches, marker stitch scar
Showstopper builds
Eight more involved designs with extra bags, larger parts or several puppets. Check each card for additional materials.
- Giant witch — two bags taped end to end, felt-brim hat, pipe-cleaner broom with paper bristles
- Three-headed monster — three bags taped in a row, each flap a different color face, one shared paper cape
- Cloaked phantom — black two-bag cloak, white mask face on the flap, silver star cape clasp, crepe-paper mist from the hem
- Spider queen — spider build plus four extra legs and a crown of paper points
- Haunted house — two-bag tower with marker shutters, a triangle roof, and a flap doorway that opens as a mouth
- Werewolf — gray tissue-twist fur, pointed ears, felt fangs, a foil full moon taped behind the top
- Pumpkin coach — two-bag carriage with paper wheels, marker vine curls, and a tiny mouse driver on the flap
- Monster chorus — three snack-size bags with one face each, held in one hand for a group scene
Monster-show story cards
Four cards that run the finale: two scenes, a wild card, and a bow.
- Scene one — the pumpkin pal rolls off the porch and the mummy chases it across the room without losing a single wrap
- Scene two — the witch's broom snaps mid-flight and the only replacement is the bat's umbrella; act out the trade
- Wild card — the audience picks one monster to knock on the playroom door and deliver one polite trick-or-treat line
- Final bow — every puppet names its favorite candy in character, then all flaps chomp twice for applause
What's in the printable pack
Children turn a paper lunch bag into a pumpkin, mummy, witch or other Halloween character, then put on a short puppet show. Print all 28 prints all 24 character instructions and the four show cards. The 24 characters come in three groups of eight. Flap-face quick builds are the simpler designs, such as the pumpkin pal, ghost and mummy. Costume builds add hats, wings or props. Showstopper builds include larger puppets and groups of characters.
The card picker draws from all four groups, including the story cards. To pick a puppet, use one of the first three groups. Children can swap character cards before they start gluing.
The print controls don't give you a fixed layout of four cards per letter-size sheet. Keep a printed copy of the instructions with the supplies so a helper can take over if you're busy.
Are cutting templates included?
Quick answer: No. The pack has text instructions and story cards, not illustrated cutting templates.
Before the party, draw the faces, hats, ears and other paper pieces to fit your bags, or let children draw their own. If you make your own template sheets, use solid lines for pieces children will cut and dashed lines for pieces an adult will cut beforehand.
As a starting point, allow two sheets of prepared pieces per child, which is 16 for eight children. Adjust that once you know which pieces you're drawing.
How to make a puppet: the pumpkin pal
Lay the bag flat with the folded bottom facing up. That fold is the puppet's mouth. Cut an orange paper face to fit the flap, a green triangle for the stem and two black triangles for eyes. Glue the face onto the flap, add the stem and eyes, then draw a zigzag grin. Keep glue and paper away from the opening under the flap so the mouth can still move. To show the children how it works, slide your hand into the open end of the bag and open and close the flap.
Other designs need more preparation. A mummy uses torn strips of white paper with the eyes showing between them. A bat has fan-folded wings taped across the back. A three-headed monster needs three bags taped side by side, each with a different face, sharing one paper cape. Get the extra bags and decorations ready before you offer these designs.
If the bag designs need more extra bags and parts than you want to gather, a folded-paper monster is a different build, not a step in the lunch-bag method. It has its own preparation, such as eye-count cards, so compare both before you shop. See how to run a paper-monster craft for that setup.
Make one sample pumpkin the night before and put it where everyone can see it. Let each child decide how many details to add. A simple face is enough to join the show.
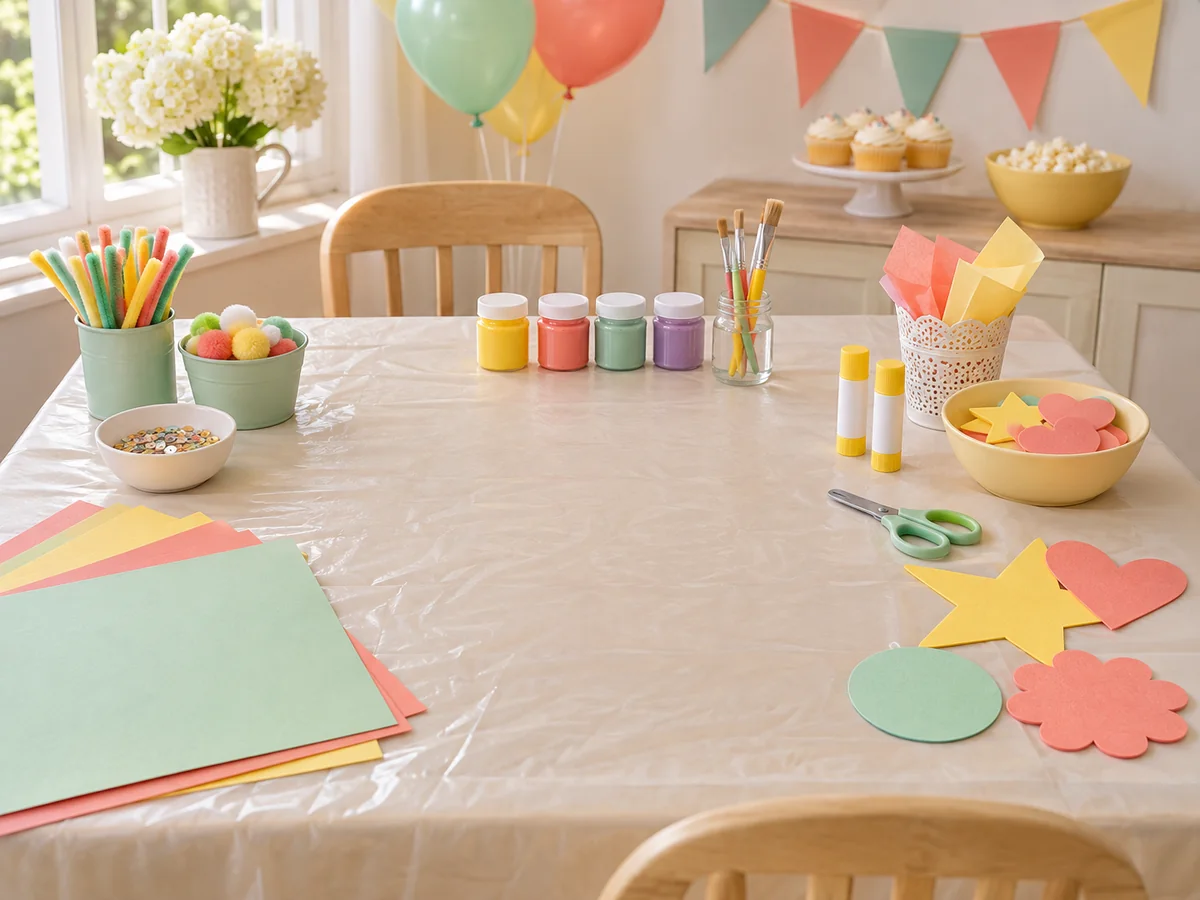
Supplies for eight children
Use these counts as a starting list for eight single-bag puppets. Check the character cards you've chosen before you shop, because a group that picks several large designs will need more.
Choose which characters you'll offer before you start your list, since the totals depend on those choices. Then you can note what you already have, what you can borrow and what you need to buy. A list of party supplies to buy, borrow or prepare can hold that plan, whether you print it or keep it on your phone.
- 8 paper lunch bags, about 6 by 9 inches, plus 4 spares. Add extra bags for characters made from more than one bag.
- 16 sheets of card stock for prepared pieces, plus 1 sheet each of orange, black, white, green, purple and brown card stock.
- 4 glue sticks to share, plus 1 bottle of white glue for details such as cotton-swab ribs.
- About 40 cotton balls for designs with ghost hoods or cobwebs.
- A pack of 24 pipe cleaners, a sheet of 64 sticker eyes and a roll of masking tape.
- 4 pairs of scissors for children cutting their own pieces, and 1 cup of crayons for every 3 seats (3 cups for eight children).
- Name labels and a shelf, tray or windowsill where the puppets can dry.
- Only if your chosen cards call for them: yarn, yellow or blue paper, foil, felt, tissue paper, crepe paper, star stickers, cotton swabs or pom-poms. Marker eyes and paper details can stand in for any decoration you don't have.
Adjusting for age and group size
Count only the children who will make a puppet. That includes the birthday child and any siblings who join in. Staying adults who are helping don't need supplies unless they're making a puppet too.
Your puppet count can differ from the total number of people attending. If you record attending siblings and note which adults are helping rather than making a puppet, you can count kits from that list. A party guest-list planner can also hold each child's finish time and who is collecting them.
What age are the puppet ideas for?
Quick answer: They're meant for ages four and up. Fit the materials and steps to the children who are taking part.
Cut the hats, ears, eyes and teeth ahead of time for children who need help with scissors. For four- and five-year-olds, start with prepared pieces. Younger siblings can decorate a bag with drawn features and prepared paper pieces instead.
An age label on its own doesn't tell you whether scissors or small decorations suit a particular child. Use what you know about the children coming. The paper-bag designs don't need hot glue, so keep glue sticks at the table. Use markers or crayons rather than adding paint.
Can I use the cards with a class of 24?
Quick answer: Yes. Try four tables of six with an adult helping at each one, and start from three times the supplies for eight children.
If the birthday child is in the class, they're already one of the 24. Only add children who aren't already counted, such as siblings who aren't in the class. Start with 24 standard bags plus 4 spares, then add the extra bags your chosen designs need.
Here's how the other supplies work out if you multiply the list for eight by three (an example only): 48 sheets of card stock for prepared pieces and 3 sheets of each color, 12 glue sticks, 3 bottles of white glue, about 120 cotton balls, 3 packs of pipe cleaners, 3 sheets of sticker eyes and 12 pairs of scissors. For crayons, the one-cup-per-three-seats rule gives 8 cups for 24 children, so tripling to 9 leaves you a spare. Check each character's materials before you shop.
Getting the craft table ready
While one group glues, the others can draw faces or shirt details. Children waiting for help can work on a part that doesn't need glue.
This works best if the drawing supplies and any pre-cut parts are already at the table, so waiting children can start without asking. Prepare the pieces that need adult help ahead of time and decide which helper handles them. Tips on organizing a craft station cover that arrangement.
- Two days before: choose which cards to offer, print them and draw the paper pieces.
- Ahead of time: cut pieces for guests who need help with scissors.
- The night before: make the sample puppet and check that its mouth flap still opens.
- Party morning: label the bags and put each character's parts together.
- Set up room for five children to glue at once, with a separate spot for drawing details. Show the children how to share the four glue sticks before you start.
- Give each finished puppet its own named space, and keep the four story cards nearby.
Five gluing seats and four glue sticks only run short if all five children need glue at the same moment. Children can attach pieces or draw details between turns. Decide how a glue stick changes hands, such as passing it on after each piece, and show this before anyone starts. Planning shared materials without arguments starts with writing down how many children use a tool at once.
Keep the drying spaces away from the seats where children are still working, so wet puppets aren't knocked or picked up by mistake. If the same table is used for food later, plan where the puppets will go first. Kids party table setup covers preparing supply cups and keeping extras nearby.
Example: a 40-minute craft and show for eight children
This example assumes eight children making mostly simple puppets, with the paper pieces prepared before the session starts. Bigger builds or a bigger group may take longer.
| Time | What happens |
|---|---|
| 0 to 5 minutes | Show the sample and how the flap moves, hand out cards and let children swap. |
| 5 to 20 minutes | Build the puppets. Up to five children glue at a time while the others draw, and they swap as places free up. |
| 20 to 30 minutes | Put the puppets aside to dry while pairs choose a scene and practice. Check that the glued pieces have set before anyone picks them up. |
| 30 to 40 minutes | Perform the two scenes, add the audience prompt if there's time, take a group bow and pack the named puppets. |
How long should I allow for the craft and show?
Quick answer: About 40 minutes in the example: 5 to demonstrate, 15 to build, 10 to dry and rehearse, and 10 to perform and pack up.
Ten minutes covers the show and packing up together, so assign jobs before the show starts: who collects scissors and glue, who checks names, and who gets take-home bags ready. Pack only puppets whose owners have finished performing and that are ready to pack. Puppets still drying or needed for the group bow can wait. A party cleanup checklist can help you plan the rest of the room afterward.
Allow longer for large puppets or if children have to take more turns at the glue table. Drying time starts when each puppet is put aside, so a puppet that's still unfinished at minute 20 won't necessarily be ready at minute 30. Some materials may also need longer to dry. If the last puppets need more time, shorten the show or run the session longer.
Treat the 40-minute example as a guide, not a fixed slot. Leaving some flexible time near the show gives late puppets room to finish before food or pickup. A party-day timeline from arrival to goodbye can help you see where that extra time could come from.
Putting on a short monster show
Read the four story cards aloud while the puppets dry, then put children in pairs for each scene. A couch can work as a stage if it suits your room. The performers kneel behind it and hold their puppets up above the back. Children can also perform from their seats.
If you'd like a backdrop, a paper garland made before the party can hang behind the couch. Keep it clear of the performers' hands and above the puppets so the audience can still see them. Halloween paper garland templates explain how many strips to cut for a six-foot chain.
In the first scene, the pumpkin pal rolls off the porch and the mummy chases it without losing its wraps. In the second, the witch's broom breaks and the bat offers an umbrella instead. If nobody made those characters, pairs can act out the same situations with their own puppets. The wild card asks the audience to choose a monster to knock on the playroom door and say a polite trick-or-treat line. To finish, each puppet whose owner wants to can name a favorite candy, then every puppet chomps its mouth twice as applause.
Does every child have to perform?
Quick answer: No. Children can perform in pairs, help read a scene, make an audience sound or just watch.
Some children may want something to do instead of performing. A paired game or a small puzzle at a nearby table lets them stay with the group while the show goes on. You can offer it to everyone instead of singling anyone out. See games for quieter guests for other choices.
Read each scene aloud before it starts so everyone knows what happens. Clap after each scene and finish with a group bow that everyone can join.
Checklist before the party
- How many children are making puppets, and how many helpers you have
- Which characters you'll offer, and the extra bags and decorations they need
- Which pieces to cut ahead of time
- Who will help at the glue table
- Where the puppets will dry
- Something for children to do while they wait
- Performers and puppets for each scene
- Craft start time and pickup time
| Detail | Your notes |
|---|---|
| Number of children and helpers | ____________________________________ |
| Characters to offer | ____________________________________ |
| Pieces to cut before the party | ____________________________________ |
| Extra bags and decorations needed | ____________________________________ |
| Who will help with gluing | ____________________________________ |
| Where puppets will dry | ____________________________________ |
| Activity for children waiting | ____________________________________ |
| First scene: performers and puppets | ____________________________________ |
| Second scene: performers and puppets | ____________________________________ |
| Craft start and pickup time | ____________________________________ |
Extra notes: ____________________________________________________________
More notes: ____________________________________________________________