How do I run a paper-monster craft activity?
Quick answer: Before the party, fold a paper hand-puppet body for each guest and cut the arm and leg strips. At the party, show a sample you made earlier. Each guest draws one card from each of the three idea piles, decorates their monster, then rolls two dice to name it. Finish by putting supplies away and holding an optional parade. For eight guests, the example plan takes about 40 minutes at the table. Allow about an hour before the party to prepare, and adjust both times after you make a practice puppet.
28 printable monster idea cards
Print the cards and separate them into three piles. Draw one from each pile for a monster, or use the random picker for an extra idea. The picker draws from all 28 cards; it does not deal one from each pile.
How to play
- Prepare the 28 idea cards in three piles, pre-cut the basic parts and make a practice puppet.
- Fold each 9-by-12-inch sheet to 6 by 9 inches. Keep the folded edge at one side, close the other side and bottom with half-inch seams, and leave the six-inch top open.
- Offer one card from each pile and help guests attach the chosen parts, or let them decorate without cards.
- Use prepared parts and double-sided tape for younger guests; keep shared scissors at the helper's cutting corner.
- Roll one die for an adjective and one for a noun, write the name on an arm, put the supplies away and invite guests to an optional parade.
Draw one when the room is ready
Fold two 1-by-5-inch strips into accordion arms and tape one at each shoulder.
Body and limb cards
Draw one for a starting feature. Prepare extra strips and shapes for the cards you use; the basic two-arm, two-leg supply count does not cover every extra.
- Fold two 1-by-5-inch strips into accordion arms and tape one at each shoulder.
- Give your monster four legs made from 1.5-by-6-inch strips. Attach them at the bottom seam.
- Cut one 4-inch wing and tape it flat against the back.
- Curl a paper strip around a pencil to make a 3-inch tail.
- Fold two 2-inch crescent horns and tape them behind the top edge.
- Tape a 2-inch belly patch in a second color onto the front.
- Give your monster one arm twice as long as the other.
- Cut a 6-inch zigzag strip for feet and tape it along the bottom edge.
- Punch ten paper dots and stick five on each side as spots.
- Fold the top corners into 1-inch ears before closing the seams.
Eye-count cards
Draw one and use its eye count as an idea for your monster.
- Add one giant eye, 3 inches across, in the center.
- Put two eyes on 2-inch paper stalks.
- Arrange three mismatched eyes in a row: 2-inch, 1-inch and 1-inch.
- Arrange four eyes in two rows of two.
- Put five eyes down one side, with the biggest at the bottom.
- Arrange six paper-dot eyes in an arch near the top.
- Cut two crossed eyes as one piece and draw an X across them.
- Put one eye on the front and one on the back to give the puppet two faces.
Silly feature cards
Draw one for a finishing detail. Add it without sealing the puppet's hand opening.
- Add a 3-inch red tongue with three paper flies on it.
- Tape five triangle teeth near the top edge, pointing down.
- Draw braces with a marker line across four teeth.
- Give your monster a bad haircut: cut a fringe half an inch deep along the front top edge.
- Tape on a bow tie made from two 1-inch triangles and a dot.
- Draw a trail of freckles from one eye to the chin.
- Add six stitch marks along one arm so it looks reattached.
- Cut a heart-shaped nose and tape it on upside down.
- Write your monster's name down one arm in block letters.
- Draw a tiny tilted hat, 1 inch tall, near the top of the head.
How the paper-monster activity works
Each guest gets a folded paper puppet and adds mismatched eyes, dangling legs and one silly detail. The 28 printable idea cards on the Make a paper monster at a party page are split into three piles: ten body-and-limb cards, eight eye-count cards and ten silly-feature cards. Guests draw one card from each pile, build what the cards suggest, then name their monster with two dice and write the name on an arm.
The activity works best when you do the slow parts before guests arrive. If you fold the bodies and cut the basic strips ahead of time, guests can spend their time decorating instead of waiting for scissors. Cards are a suggestion, not a rule. You might say, "You can try the cards, pick the parts you like or draw your own monster."
Will the cards and dice give every guest a different monster?
Quick answer: Not always. The cards offer different features, but two guests can end up with similar designs or the same name.
The dice table has 36 possible names, so repeats can happen in a group. Guests can arrange the same parts in a different way, add drawings with a marker, or roll again if they want a different name. They can also keep a shared name or make one up.
To avoid mix-ups at pickup, quietly write each child's own name on the back of their puppet.
Supplies to prepare for eight guests
The quantities below are for eight guests making one monster each. First decide who counts as a guest: include the birthday child, any siblings and any adults who will make a monster, and add only people who are not already on your list. If your number changes, scale the per-guest items, such as body sheets, strips, markers and trays, to match.
As a worked example, eight monsters with two arms and two legs each need 16 arm strips and 16 leg strips, which makes 32 basic strips. Add the strips for your practice puppet, plus extra legs if you use any four-legged cards.
Write the numbers down by type so nothing gets missed: the confirmed number of makers, the basic arm and leg strips, the practice puppet and any extra legs for the four-legged cards you've chosen. A printable supply list gives you one place to record those quantities before you start cutting.
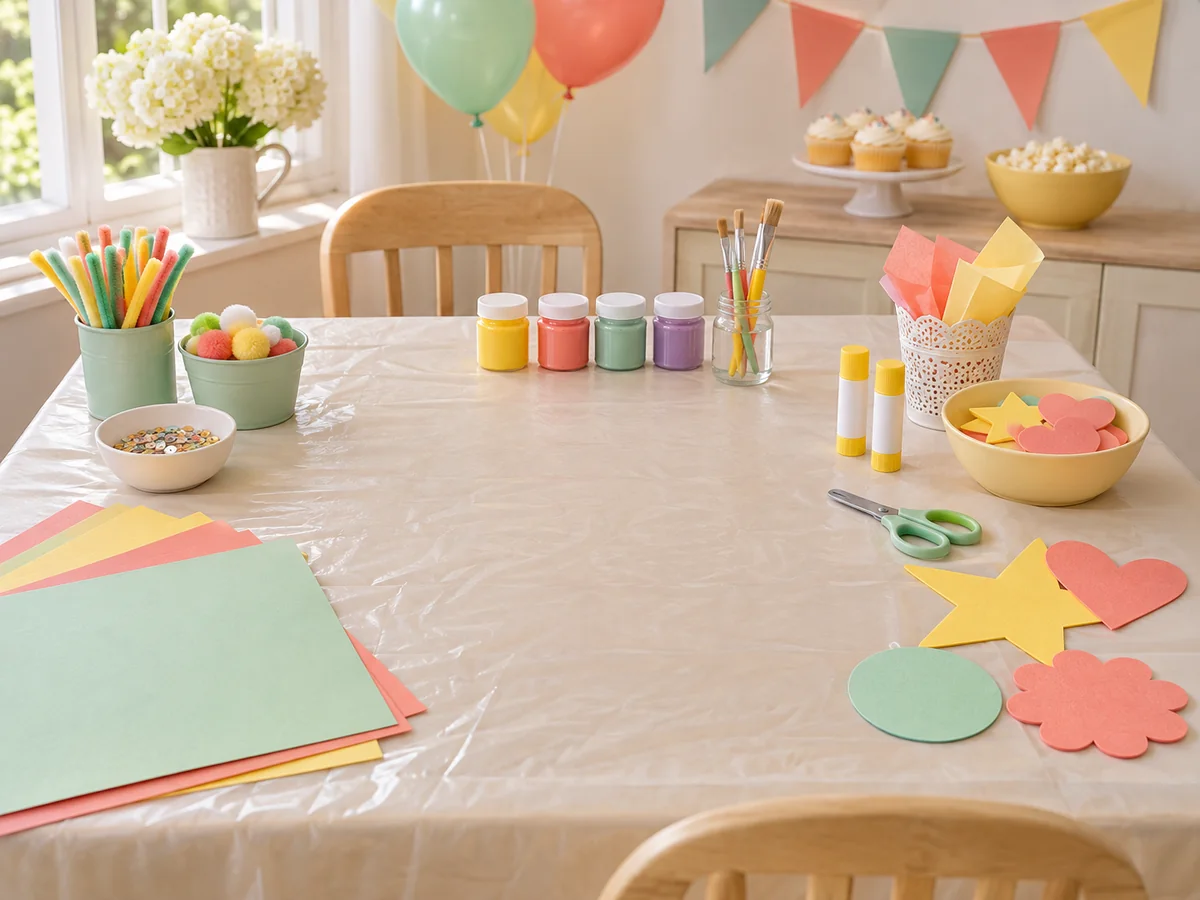
- Eight 9-by-12-inch sheets of construction paper in mixed colors, plus one for a practice body
- Sixteen arm strips, each 1 by 5 inches
- Sixteen leg strips, each 1.5 by 6 inches
- Cardstock details: eyes 1 to 3 inches across, 1-inch triangle teeth and 2-inch crescent horns
- Paper for any extras on the cards you plan to use, such as wings, tails, patches, eye stalks, tongues or extra legs
- Two pairs of blunt scissors, kept at a separate cutting corner with a helper
- Four glue sticks (one for every two guests) or double-sided tape; the original tape-only setup used four tape dispensers
- Eight markers, two dice and one tray per guest
- The 28 idea cards, printed or copied onto index cards and sorted into three piles
What supplies do I need for eight paper monsters?
Quick answer: Prepare eight 9-by-12-inch sheets, sixteen arm strips, sixteen leg strips, cardstock for details, two pairs of blunt scissors, four glue sticks or double-sided tape, eight markers and two dice. Add supplies for a practice monster and any extra features on the cards you plan to use.
The full list above gives the strip sizes and detail shapes. A six-part tray at each seat is a starting suggestion, not enough for every card combination, so keep extra parts and tape nearby for additional joints.
Put the extra parts and tape in one shared spot every seat can reach, away from where helpers are cutting, and decide who hands out refills. Guests can then ask that person instead of crowding the cutting area. See planning shared materials without constant arguments for more on setting up supplies.
Are printable parts sheets included?
Quick answer: No. You can print the 28 idea cards and follow the measured instructions, but there is no parts-sheet artwork or parts download.
Cut your own shapes using the measurements above. The original plan called for one parts sheet for every two guests, which is four sheets for eight guests plus one for practice. That count only helps if you have suitable parts artwork of your own.
How to fold the puppet body and attach the parts
Each body is one 9-by-12-inch sheet folded to 6 inches wide by 9 inches tall. The folded edge sits at one side, and the 6-inch top edge is where the hand goes in. Make your practice puppet first, check that a hand fits inside, then prepare the rest.
- Lay the sheet with the 12-inch edge running across the table.
- Fold it in half from side to side so the two short edges meet. You now have a 6-by-9-inch rectangle.
- Choose which side will be the front. If you are offering the ear card, fold the top corners now.
- Glue or tape the open side and the bottom with half-inch seams, and leave the top open. Let glued seams set as your glue requires.
- For arms, fold two 1-by-5-inch strips into thirds, back and forth like an accordion, and attach one at each shoulder without closing the hand opening.
- Attach two 1.5-by-6-inch leg strips at the bottom seam. If you want to tuck the ends between the layers, put them in place before you close that seam.
- Add eyes, teeth, horns and other details to the outside, keeping tape and glue out of the hand opening.
Running the card draw at the table
Place the three piles face down. Each guest draws one body-and-limb card, one eye-count card and one silly-feature card, and a helper finds the matching parts. Guests can draw again if you have the time and supplies. Put cards back in their piles so later guests can use them.
Place the card piles and the parts where a helper can reach both without leaning over seated makers, and keep any cutting at a separate spot. If you only have one table, plan when it changes over for food. Our guide to organizing a craft station for a children's party covers layout and table changes.
Some cards change the body itself. The ear card, for example, needs folding before the seams are closed, so either demonstrate that fold in advance or keep a body already folded that way.
Illustrative sample monster: a green body with accordion arms, three mismatched eyes in a row (one 2-inch and two 1-inch), and five triangle teeth near the top pointing down, leaving the opening clear. Add a red tongue from the silly-feature pile. Roll a 2 and a 4 to name it Wobbly Wump, then write the name down the left arm. Show it as an example, not a design everyone has to copy.
| Die roll | Adjective (first die) | Noun (second die) |
|---|---|---|
| 1 | Grumpy | Gob |
| 2 | Wobbly | Blorp |
| 3 | Zippy | Snag |
| 4 | Squishy | Wump |
| 5 | Spiky | Fizz |
| 6 | Grubby | Mo |
Making it easier for younger children
Younger children can join in without gluing or cutting if you do more of the preparation yourself.
Can younger children join without glue or cutting?
Quick answer: Yes. Close the bodies and cut the parts before the party, use double-sided tape, and offer flat arms and legs instead of accordion folds.
Start with up to six attached parts, and check that they stay on before offering more. The number of parts alone won't tell you whether the tape will hold, so test your paper and tape together on the sample. Keep scissors at the separate cutting corner, away from this table.
For example, a child could stick on two flat arms, two legs and two eyes, then draw teeth and freckles with a marker. If a card needs a piece you haven't prepared, let the child pick a different idea.
Let the amount of help follow what each child needs on the day, not age alone. Some children may want pieces handed to them; others may want to place everything themselves. Ideas for adapting party games for different abilities, such as having a willing helper fetch pieces, work at the craft table too.
An example 40-minute schedule
This illustrative plan assumes the bodies and basic parts are ready before guests arrive. It covers the craft only, not the whole party or a food break. Make a practice puppet first and change the timing to suit your guests.
| Time | What happens |
|---|---|
| 0:00 to 0:05 | Show the sample, the hand opening, how to attach a part and the three card piles |
| 0:05 to 0:25 | Draw cards and decorate; offer the tape-only version and free decorating too |
| 0:25 to 0:30 | Roll dice, write monster names on arms and each child's name on the back |
| 0:30 to 0:35 | Put supplies away: return scissors, close glue sticks, collect scraps, explain the parade |
| 0:35 to 0:40 | Optional parade past the cake table and a group photo |
How long should I allow for the activity?
Quick answer: The example plan allows 40 minutes: 5 for a demonstration, 20 for decorating, 5 for names, 5 for putting supplies away and 5 for a parade and photo.
Treat this as a starting point and adjust it once you have tried a sample with your own materials. If guests need more time, shorten or skip the parade instead of rushing anyone's last part. Plan about an hour before the party for folding and cutting, and adjust that too after the practice puppet.
Finishing with an optional monster parade
Once supplies are put away, invite guests to slide a hand into their puppet and carry it for one lap past the cake table, introducing its name if they want. You can finish with a group photo against a clear wall, or simply let everyone admire the puppets. Check with families before sharing any pictures.
Keep crafting and eating separate. Ask guests to put their projects down and wash their hands before food, and clear the supplies first if you only have one table. Set each puppet beside its owner's name until pickup, keep loose parts with the project, and don't stack puppets while the glue is still setting. The finished monster can be the take-home favor.
Plan the food as its own part of the party, not part of the craft time. Once projects are set aside and hands are washed, serve food on a clean surface, and if you only have one table, change or clean the covering first. For food ideas, see craft party food kids actually eat.
Does everyone have to join the parade?
Quick answer: No. The parade and photo are optional, and every puppet goes home with its maker either way.
Guests can stay at the table, keep decorating, skip the photo or just take their monster home without showing it to anyone.
For guests who finish and skip the parade, keep paper and crayons at the table so they can draw quietly rather than start another full craft. Our craft party ideas also cover getting the table, project storage and a backup activity ready ahead of time.
Checklist before guests arrive
- Guest count confirmed, including the birthday child and any siblings or adults joining in
- Practice puppet made and hand opening tested
- Bodies folded, with any ear-fold bodies ready
- Arm, leg and detail pieces cut, plus extras for the cards you are offering
- Cards sorted into three piles; dice and name table on the table
- Cutting corner set up with a helper
- Tape tested on the sample for younger guests
- Places chosen for finished puppets, scraps and the parade route
Activity start and finish: ____________________
| Supply | Needed | Already have | Buy or prepare |
|---|---|---|---|
| ____________________ | ______ | ______ | ____________________ |
| ____________________ | ______ | ______ | ____________________ |
| ____________________ | ______ | ______ | ____________________ |
| ____________________ | ______ | ______ | ____________________ |
Guests taking part: ______ Practice puppets: ______ Extra parts to prepare: ____________________
Cutting corner helper: ____________________
Finished puppets go here: ____________________
Scraps and used supplies go here: ____________________
Parade route: ____________________
Who will help return projects at pickup? ____________________