How do I make washi-tape butterflies with party guests?
Quick answer: Give each guest a paper square, washi tape and a wooden spring clothespin. Guests fold the square, decorate it with tape, then cut a half-butterfly outline through both layers so the wings match when opened. Clip the joined wing centre into the clothespin, wrap the clip with tape and add googly eyes and pipe-cleaner antennae with glue dots. There's no wet glue, so nothing has to dry. In this plan, children aged 6 and up can try the folded cut, and you prepare wings ahead for children aged 3 to 5. Make one sample with your own supplies before you set up the table.
12 butterfly pattern cards
Print these prompts for a table jar, or use the picker to suggest a pattern. Check the supplies each prompt needs; guests can also make up their own design.
Draw one when the room is ready
Use stripes and dots from one color family.
Patterns to try on the wings
Draw one card if you want an idea. Change it or skip it if you prefer.
- Use stripes and dots from one color family.
- Use two bold patterns and leave one paper edge uncovered.
- Arrange tape in rainbow order from corner to corner; this needs more colors than the three-roll kit.
- Turn one patterned strip 90 degrees beside the fold.
- Make a zigzag border and leave the center plain.
- Use small repeating patterns, with strips no wider than a fingertip.
- Choose a tape that matches something you are wearing.
- Try green and brown with one flower-colored accent; add those colors if they are not in your kit.
- Point a chevron pattern toward the butterfly’s head; use chevron tape if available.
- Add tape-circle polka dots. Prepare the circles ahead, or use dotted tape instead.
- Use only translucent tape for a window butterfly; this needs translucent rolls.
- Mix five tapes without placing the same tape in neighboring strips; add two rolls to the starting kit.
How the butterfly craft works
Each butterfly is a folded paper square decorated with washi tape, cut into matching wings and clipped into a wooden spring clothespin that acts as the body. Googly eyes and curled pipe-cleaner antennae finish it off. Guests take home a butterfly that also works as a clip.
The fold makes the wing outlines match. It does not copy the tape pattern onto the other wing. Show this with your sample so children know what to expect. Many children enjoy putting a different pattern on each wing.
The plan below is for one table of eight guests. Decide who those eight are before you buy supplies. If the birthday child, a sibling or another child in the household is making a butterfly, count them in the eight. Add places only for children who aren't counted yet.
A party guest-list planner usually lists invited guests only, so add the birthday child and any household children who'll make a butterfly separately. Mark who is doing the craft and count each child once, so the eight places are neither short nor double-counted.
Does this craft need glue?
Quick answer: It uses no wet glue, but it does use adhesive. Washi tape decorates the paper and the clothespin, and glue dots attach the eyes and antennae.
So this is a no-wet-glue project, not a craft with no adhesive at all. The main practical benefit is that nothing needs a drying period before you display or pack the butterflies.
Try the glue dots on your sample first to see where they hold and whether the antennae need an extra dot.
What supplies do I need for eight guests?
For a different number of guests, start with one paper square and one clothespin per child, then add the spares you want. The original plan allows about 30 minutes for preparation. Drawing the pattern and cutting wings for younger guests may take longer.
Paper squares and clothespins are only part of the job; scissors, tables and anything for displaying finished butterflies need sorting too. A checklist of supplies to buy, borrow or prepare helps you decide what you own and what to get. Preparation may still run longer for younger guests.
If every guest needs prepared wings, cut wings from eight of the ten squares. Those prepared wings are the guests' projects, not eight extra butterflies.
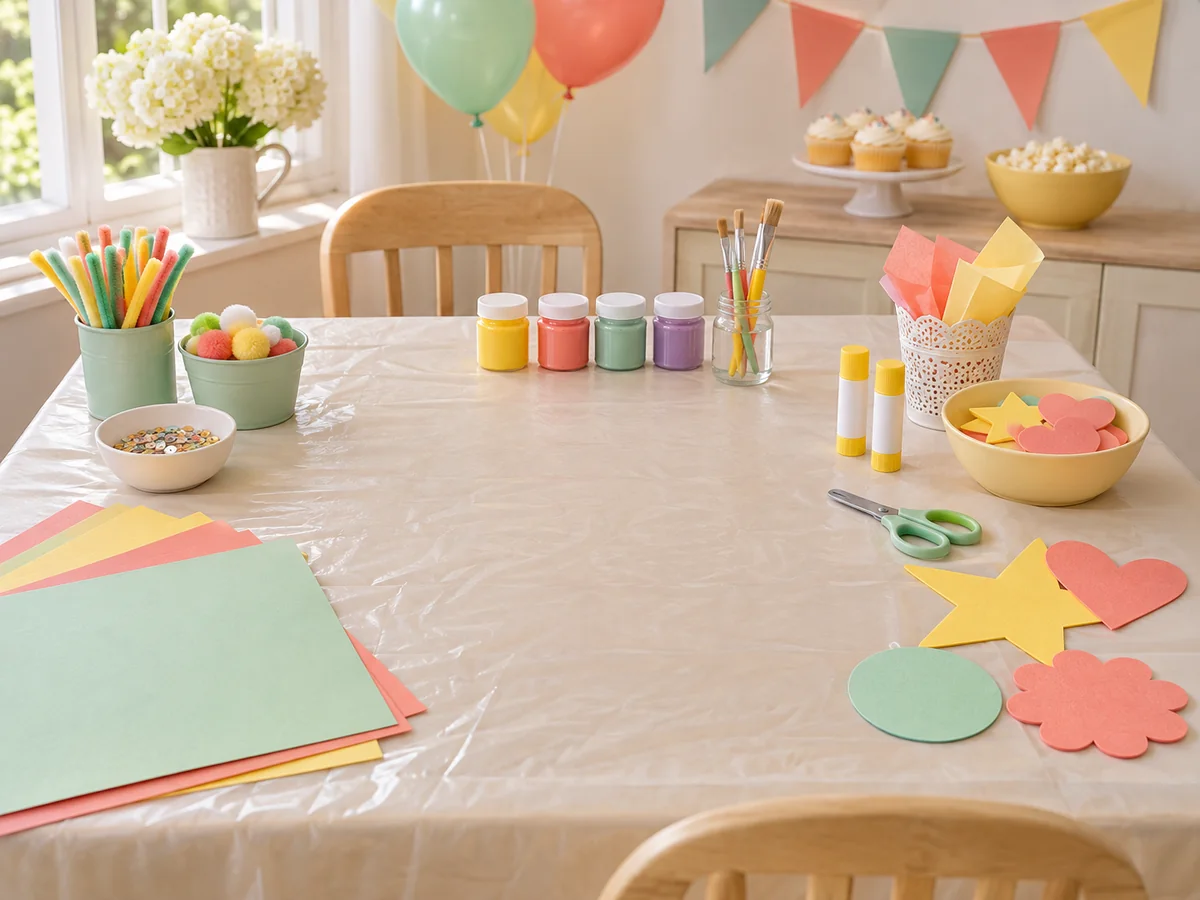
- 10 paper squares, 6 inches across: eight for guests and two spares. Use tracing or parchment paper, and test how it takes the tape. A 40-sheet pad covers three tables of ten squares if each sheet gives you at least one square.
- Three washi rolls to start with: one striped, one dotted and one solid.
- 10 wooden spring clothespins: eight bodies and two spares. These are the clips that open when you squeeze them, not the flat wooden pins used for some other crafts.
- 24 glue dots, ten 3-inch pipe-cleaner pieces and one sheet of 10mm googly eyes. You need at least 16 eyes for eight butterflies.
- A cardboard half-butterfly pattern you draw yourself (cereal-box cardboard works), a pencil, and kid scissors for each guest who will cut.
- One demonstration butterfly, left partly cut and folded so you can show how the outlines match when opened.
- A jar of pattern cards, if you're using them.
- A roll of double-sided tape for the display and eight favor bags.
- Prepared wings for each guest under 6.
- A bowl for scraps and glue-dot backing papers, and a spot for refills.
How many washi rolls do I need for eight guests?
Quick answer: Start with three rolls: striped, dotted and solid. The source estimate is about six wing pairs per roll, but coverage depends on the roll and the design, so try your sample first.
Illustrative calculation: 3 rolls × about 6 wing pairs = about 18 wing pairs, which is more than eight guests and two spares need. This only works if your rolls match the estimate. Roll length, tape width and how heavily children cover the wings all affect how far a roll goes.
Some pattern cards need extra colours, translucent tape or five different rolls. You don't need to buy every extra. Just leave out the cards you can't supply.
Before deciding whether to buy extra rolls, think about which patterns will be popular and how many children will want them at once. Spreading popular rolls around the table and showing whose turn is next can cut waiting. Tips on how to plan shared materials cover checking supplies before guests arrive.
Are 24 glue dots enough?
Quick answer: They're just enough if each butterfly uses three dots, but there are none to spare.
Worked example: 8 butterflies × (2 eyes + 1 antenna piece) = 24 dots. If your sample needs more than one dot for the antennae, or a dot gets dropped, you'll run short. Check your sample and adjust the count.
How do I set up the craft table?
Put the tape at one end of the table, the pattern-card jar in the middle, and the eyes, antennae and glue dots at the other end. Leave room for cutting so guests don't reach across someone using scissors to get tape.
Before guests sit down, check that each child has their own place, can reach tape without crossing someone's cutting space and has room to work. The checklist on how to organize a craft station also reminds you to leave the end of the party for cleanup, packing and pickup.
Label the rolls by pattern as well as colour, for example stripes, dots and plain. That gives guests another way to find them. If a card depends on telling shades apart, ask what works for the children coming.
Pattern labels help, but look through the design cards too. If one depends only on telling shades apart, add a pattern or symbol or set that card aside, and ask families what works for their child. Ideas for color-blind-friendly party games and decorations include matching symbols on cards and items.
Keep food on a different surface. If you only have one table, set the finished butterflies aside and clear away the craft supplies before you serve snacks.
When you switch from craft to snacks, clear the supplies, wipe the table and have everyone wash their hands before eating. A guide to craft party food kids actually eat also suggests keeping powdered donuts and loose sugary toppings away from the craft area if you serve them.
A parent who wants to help could refill tape or collect backing papers while children decorate. Agree on that job beforehand, and check what help their own child needs.
Settle a helping parent's job before the craft starts and name it plainly, such as refilling tape. Advice on how to agree on parents’ roles suggests first checking whether their child needs help, then explaining the arrangement and offering a real job or a nearby seat.
How to fold, tape and cut the wings
These steps keep the two wings joined at the fold, so one clothespin can hold them both.
- Fold a 6-inch square in half. The folded edge becomes the centre of the butterfly.
- Decorate the outside of the paper with tape, overlapping neighbouring strips by about a quarter inch. Keep the paper folded while you work. Decorate the other outer face too if you want tape on both wings. Don't tape the open edges together.
- Trace the half-butterfly pattern with its straight edge along the fold, so the wing shape extends away from the fold.
- Cut the curved outline through both layers. Don't cut along the fold, or the wings will come apart.
- Open the paper. You should have two matching wings joined in the middle. Add any last tape details before attaching the body.
What age can cut the wings?
Quick answer: In this plan, children aged 6 and up try the folded cut with kid scissors, and children aged 3 to 5 decorate wings you've cut out for them.
Age alone doesn't tell you how confidently a child uses scissors. Prepare wings for anyone who needs or prefers them, and plan who will help with scissors based on the children who are actually coming.
Ask each family what help their child prefers rather than going by age. A child using prepared wings still decorates and finishes the same butterfly. Broader advice on how to adapt party games for different abilities takes the same approach: ask the guest what actually works for them.
Younger children can tear the tape and press it onto the prepared wings. Torn edges can stay as part of the design. For children aged 3 to 4, a tray with prepared wings and just two tape choices keeps things simple, and they can stop when they feel finished.
How to attach the clothespin body
Open a spring clothespin, slip the joined centre of the wings between its jaws and let it close. Adjust the paper until a wing sits on each side.
Wrap one strip of washi around the wooden body, leaving the spring free to work. Stick on two googly eyes with glue dots. Curl a 3-inch pipe-cleaner piece around a pencil and stick it near the head with a glue dot for antennae.
Let guests gently squeeze the clip and watch the wings move. How much they move depends on how the paper sits in the clip.
Using pattern cards and design ideas
A guest can draw a card from the jar before decorating, swap it for another or skip the cards and invent their own pattern. Before you put the cards out, check them against your tape. Rainbow order needs more colours, a five-tape mix needs two extra rolls, and chevron or translucent designs need those particular tapes. For a circle-dot card, cut tape circles ahead of time or offer dotted tape instead.
Example designs: a striped border around each wing with dotted tape near the centre, or horizontal strips on one wing and vertical strips on the other.
- Translucent window wings: parchment squares and translucent washi. Hold a taped sample up to your window first.
- Fridge clip: add an adhesive magnet strip to the back of the clothespin and test it on the kind of surface it will go on.
- Garland: clip spare butterflies onto twine. Count any extras separately from the guests' ten squares.
- Scalloped edges: for interested guests aged 12 and up, with detail scissors ready and the plain outline still offered.
- Pastel spring set: change only the tape colours and add name cards.
- Place cards: clip a name card into each butterfly and set it beside the place settings, away from plates and food.
- Later arrivals at a longer drop-in session: keep a fourth and fifth roll in reserve and change which patterns are out between groups.
If your drop-in session runs long, food needs the same planning as the tape: reserve portions for later guests and time any cooking around expected arrivals. Keep serving on a separate surface from the craft table. A food plan for guests arriving at different times can help.
Example: a 30-minute session for eight guests
This example assumes one table of eight, with squares, younger guests' wings and antenna pieces prepared ahead. The times are an illustrative plan, not a deadline each child has to meet.
| Time | What happens |
|---|---|
| 0:00–0:05 | Show the sample and demonstrate the fold and where the pattern goes. Guests draw a card if they want one. Younger children start on prepared wings. |
| 0:05–0:15 | Decorate with tape. Refill supplies from the end of the table. |
| 0:15–0:25 | Help with folded cuts, open the wings and add clothespins, eyes and antennae. Guests with prepared wings can keep decorating while they wait for help. |
| 0:25–0:30 | Put up the display and take photos if you planned to. Pack the butterflies now if pickup comes next. |
What if some guests finish early or need longer?
Quick answer: Let early finishers look at the pattern cards or try a spare clothespin, and let slower decorators carry on at their own pace.
If early finishers want something more, put out paper and crayons with a few butterfly drawing prompts. It's optional and uses no extra craft kit, so slower decorators can keep going at their own pace. More butterfly party ideas include a sample and a short instruction sign on the craft table.
The four blocks add up to 30 minutes (5 + 10 + 10 + 5). A child who would rather decorate without a timer can use prepared wings and finish whenever they're ready, with no turn or presentation required.
Displaying the butterflies and sending them home
Press a loop of double-sided tape onto the back of each clothespin and stick the butterfly to your chosen window with the decorated side facing the room. Start low enough for guests to see their own work. Tracing or parchment paper with translucent tape may let light through, but solid tape gives a different look. Check with your sample rather than promising that every butterfly will glow.
Take the butterflies down before pickup. The finished butterfly can be the take-home item, so decide whether you need a separate favour too.
What if there is no sunny window?
Quick answer: Use a mirror or a glass door. A sunny window isn't necessary to show off the butterflies.
A mirror or glass door still shows the patterns, even without light shining through. Translucent paper and tape may let light through on a window or in front of a lit background, so test that with your sample if you want that effect.
Will the butterflies travel home without getting damaged?
Quick answer: Gently flatten the wings and clip each butterfly to its owner's favour bag handle, or use it to close the bag.
Before guests arrive, pack one sample butterfly to test it, then set up a labeled pickup spot with enough space that wings don't get crushed. Guidance on favor table setup also covers forgotten favors: keep the labeled item aside and message the family to arrange collection.
Try this with your sample beforehand so you know the clip grips the bag without crushing the paper. The paper and the stuck-on details can still bend if the bag is handled roughly.
Checklist before guests arrive
- Confirm who is in the guest count, including the birthday child or siblings if they're making butterflies.
- Make one sample butterfly with your own paper, tape, dots and clothespin.
- Check that your tape covers the sample and recount the rolls if needed.
- Cut prepared wings for each guest under 6 and anyone else who needs them.
- Curl or cut the antenna pieces and count the eyes and glue dots, with spares.
- Leave out any pattern cards that need tape you don't have.
- Arrange tape, cards and finishing supplies with room to cut safely.
- Test the display tape on your window, mirror or door.
- Set out favour bags and decide where finished butterflies go before food is served.
- Afterwards, collect scraps and backing papers, store leftover rolls flat, and keep finished projects separate from the cleanup pile.
| Supply | Already have | Still need | Prepared or packed? |
|---|---|---|---|
| Paper squares or prepared wings | __________ | __________ | __________ |
| Spring clothespins | __________ | __________ | __________ |
| Starting tape rolls | __________ | __________ | __________ |
| Extra tape for selected prompts | __________ | __________ | __________ |
| Eyes, antenna pieces and glue dots | __________ | __________ | __________ |
| Pattern cards, jar and demonstration | __________ | __________ | __________ |
| Display tape and take-home bags | __________ | __________ | __________ |
| Other: ____________________ | __________ | __________ | __________ |
| Job | Who will do it? | Notes |
|---|---|---|
| Prepare younger guests’ wings | ____________________ | ____________________ |
| Demonstrate and help with cutting | ____________________ | ____________________ |
| Refill supplies and collect scraps | ____________________ | ____________________ |
| Put up and take down the display | ____________________ | ____________________ |
| Pack projects for pickup | ____________________ | ____________________ |
Party date: ____________________ Guests making butterflies: __________
Guests using prepared wings: __________ Spare wing pairs: __________
Display surface: ____________________ Tape attachment tried: __________
Craft starts: __________ Display time: __________ Pickup time: __________
Pattern cards needing extra supplies: ________________________________________
Sample changes to repeat for the whole table: _________________________________