How do I prepare and use Disguise a turkey party craft?
Quick answer: Give each guest a turkey outline on card stock and one of the 27 disguise cards. The cards include paper hats, costumes and bigger disguises like a popcorn box or hot-air balloon. Guests dress up their turkey and write a caption saying what it is instead of a turkey. Then everyone votes on the finished birds in a small gallery. In the example for eight children, you prepare ten turkey bases and three shared supply trays, cut some pieces in advance and allow about 45 minutes. Elaborate costumes or glue that is still wet can take longer.
27 turkey disguise cards
Draw a disguise or print the cards. The first group uses simple pieces; the later groups add props and larger costumes.
How to play
- Print one turkey base per guest plus do-overs, and tape two sample disguises at kid eye level
- Deal one disguise card per guest and allow one trade before any glue stick opens
- Build in one wave of eight with trays refilled at the ten-minute mark, then rack finished turkeys to dry
- Run the writing line while glue sets, then hang turkeys number-up for the gallery
- Vote with three chips per guest, ribbon the winners, and put each dry turkey in a bag with its name facing out
Draw one when the room is ready
Astronaut — white helmet ring taped around the head with a gray visor window left open for the eyes
Quick-glue disguises — pile 1
Nine disguises using simple pieces from the pre-cut bin. Allow extra time when guests need help.
- Astronaut — white helmet ring taped around the head with a gray visor window left open for the eyes
- Chef — white paper toque above the head, marker apron with two pockets, paper spoon tucked under one wing
- Unicorn — rainbow-stripe paper horn on the forehead, yarn mane down the neck, marker eyelashes
- Clown — red pom-pom nose, pleated paper ruffle at the neck, polka-dot paper bow tie
- Pirate — paper eye patch on one side, knotted bandana triangle, cardboard hook replacing one wing
- Superhero — paper cape flowing off both shoulders with a lightning bolt, felt mask across the eyes
- Ballerina — coffee-filter tutu fanned at the waist, yarn bun on top, marker ribbons down the legs
- Firefighter — red paper helmet with a yellow shield, coiled paper hose gripped under the wing
- Robot — foil chest panel with bottle-cap dials, boxy paper head, one pipe-cleaner antenna
Costume-build disguises — pile 2
Nine disguises that add a prop or another layer of clothing.
- Dinosaur — three paper horns on the head, a frill of pointed plates behind the neck, marker scales on the body
- Mermaid — foil tail wrapping the lower body, paper shells across the chest, yarn hair down to the tail tip
- Santa — red cone hat with cotton trim, cotton-ball beard, black belt strip with a foil buckle
- Police officer — navy paper cap with a foil badge, paper radio taped at the shoulder
- Doctor — white coat rectangle over the body, paper stethoscope loop, marker cross on one wing
- Wizard — purple cone hat covered in foil stars, paper wand with a foil star tip
- Rock star — paper sunglasses, foil microphone under one wing, marker spikes for hair
- Construction worker — yellow paper hard hat, orange safety-vest rectangle, paper toolbox by the feet
- Bee — black and yellow striped body overlay, wax-paper wings, pipe-cleaner antennae
Showstopper disguises — pile 3
Nine builds for older kids who want the disguise to hide every feather.
- Hot-air balloon — the turkey rides a paper basket under a tissue-paper dome held by four yarn strings
- Disco ball — body wrapped in foil squares, dot-sticker mirrors, cardboard sunglasses hiding the eyes
- Turkey in bed — felt blanket up to the chin, paper pillow, nightcap, and a paper Do Not Disturb tag
- Popcorn box — red and white striped paper box around the body, crumpled tissue popcorn, head peeking over the rim
- Spa-day turkey — towel turban, paper cucumber slices over the eyes, robe collar up, cotton-ball slippers
- Gnome — cotton beard over the whole chest, tall cone hat hiding the head, body shaped into a triangle robe
- Scarecrow — yarn straw tufts at the cuffs, patched paper flannel shirt, paper sunflower hat
- Viking — paper horned helmet, braided yarn beard, cardboard shield covering one wing
- Ice-cream cone — brown paper cone wrapped around the body, head as the scoop, pom-pom cherry on top
What the turkey disguise craft involves
The idea is simple. Each guest gets a turkey and a disguise idea, then dresses the turkey so it no longer looks like a turkey. The finished birds go up on a wall or door as a Thanksgiving gallery, each with a short caption and a number for voting.
If your guests would rather act out characters than vote on a gallery, a turkey puppet craft is another option for the main activity. It ends with a puppet show instead of a vote, so choose one craft or the other. You don't need to do both.
There are 27 disguise cards. They cover paper hats, costumes and larger disguises such as a popcorn box or hot-air balloon. Guests can draw an idea with the picker or take a printed card. The cards give costume ideas only. They do not include a turkey outline, so draw your own or use one you already have.
The craft suits a family Thanksgiving gathering or a children's party, and you can scale it up for a classroom. You can adjust how much help each child gets with cutting, gluing and writing, so children with different skills can sit at the same table.
The same idea can carry over to the gallery. Older children might write captions while younger ones hang their turkeys, so everyone has a job that suits them. This is a craft rather than a game, but our tips on how children of different ages play together can be adapted here, including keeping a quieter activity ready.
What ages can take part?
Quick answer: The craft is intended for ages 4 and up. Offer pre-cut pieces for 4- and 5-year-olds, and let younger guests decorate a pre-glued turkey with stickers while an adult helps.
Younger guests can still join in with a pre-glued hat and dot stickers, so they have something to decorate without cutting or handling glue. Seat them with an adult beside them, away from the shared trays. Googly eyes, cotton balls, pom-poms, bottle caps and similar small pieces should stay out of reach of children under three and of any child who still puts things in their mouth. The adult can hand over stickers one at a time and keep the sheet.
The adult sitting beside a younger child can't also watch the shared trays and the other guests. Before younger children join, decide who will sit with them and who will help at the shared table, and write it down. Our guide to sharing supervision at a children's party has a checklist for this.
Age is only a rough guide. Watch the children at your table and give each child the help they need with cutting, gluing and writing. Don't assume every child of a given age can do the same things on their own.
Prepare the turkey bases and disguise cards
Make one turkey outline per guest on 8.5-by-11-inch card stock, plus two spares. A body about 6 inches tall, with the tail fan behind it on the same sheet, leaves room for a costume. Leave space at the bottom right for a name and a short caption.
Prepare the 27 disguise cards using the print controls on the craft page. Before you set out supplies, read through the cards you plan to use. Some ideas call for extras such as coffee filters, tissue paper, felt, pom-poms, wax paper, bottle caps, cardboard or other paper colors. Where it suits the costume, use paper or drawn details instead. For example, a child can draw robot dials rather than glue on bottle caps.
Once you've chosen your cards, list only the extras those disguises need, and note which ones you'll replace with paper or drawn details. Then sort the list into what to buy, borrow or make, so you don't shop for disguises nobody will use. This checklist of party supplies to buy, borrow or prepare can help.
Make two finished sample turkeys and put them where the children can see them. A sample shows children what to make more quickly than an explanation can.
What if two guests want the same disguise?
Quick answer: Let them both make it, or offer a trade before gluing starts. Different colors, props and captions will still make each turkey look different.
In the example session, each guest gets one card and can make one trade before gluing begins. Allowing trades early means nobody has to pull off pieces they have already glued.
If two children really want the same costume, there is no need to stop them. A chef in a red hat with a pumpkin-soup caption looks quite different from a chef in a white hat who is baking pie.
Gather supplies for eight children
This list is for the example group of eight children. Count everyone who will actually make a turkey, including the birthday child, siblings and any adults who want to join in. Then add two spare bases.
Your guest list and your craft count may be different. Start with everyone invited, then count only the people who will actually make a turkey, including any siblings or adults who join in. Add the two spare bases to that number. Our guide to deciding how many guests to invite covers counting children, siblings and adults who stay.
Set up three trays for eight seats. Start each tray with one glue stick, 12 pre-cut costume pieces, six googly-eye stickers and four cotton balls. Keep the fourth glue stick and the rest of the supplies nearby for refills. Line the trays with paper towels. Keep foil, yarn and pipe cleaners at the host's table and hand them out when someone asks. If children under three or children who mouth objects are in the room, keep the trays and refill supplies where they cannot reach them.
Before gluing starts, check that each child using the shared trays can reach one, and explain how to ask for a refill and how to pass the glue stick on. Younger children or children who mouth objects stay at their adult-assisted seat, away from the trays. The guide to planning shared materials without constant arguments covers return spots and turn order.
- Ten turkey bases on card stock: eight for guests and two spares
- Four glue sticks for sharing and one roll of masking tape
- One sheet each of white, black, red, yellow, brown and pink card stock
- One sheet of 64 googly-eye stickers, 40 cotton balls and 24 pipe cleaners
- A sandwich bag of yarn scraps and one sheet of kitchen foil
- Four pairs of children's scissors for guests who are using scissors
- Three trays, each with a crayon cup
- Gallery number cards, voting labels, paper ribbons and eight gallon zip bags
Can I use it with a classroom?
Quick answer: Yes. For 24 students, prepare 26 bases and eight trays, one for every three desks, and allow extra time for the gallery and the vote count.
The classroom version follows the same pattern as the party version: one base per child plus two spares, so 24 + 2 = 26 bases. Eight trays for 24 students works out to one tray per three desks.
If the birthday child or another child you are planning for is in that class, they are already among the 24. Add bases only for people not already counted, such as a visiting sibling or a helper who wants to take part.
Increase shared supplies like glue sticks, eyes and cotton balls for the larger group. Displaying 24 turkeys and counting their votes takes longer than with eight, so plan for that. Any rules about food, materials or take-home items depend on the school, so check with the teacher.
Before planning for the whole class, ask the teacher which materials are allowed, how many helpers can come and whether children can take their turkeys home. Confirm products with the teacher before you buy them. Our guide to planning a classroom celebration around school rules has a checklist for that conversation.
Set up the craft table
Get the room ready before guests arrive, so the session can start with choosing disguises rather than cutting paper. Set aside a place where crafts can dry and a wall or door for the gallery. Keep both away from the decorating table so nobody knocks over a wet turkey.
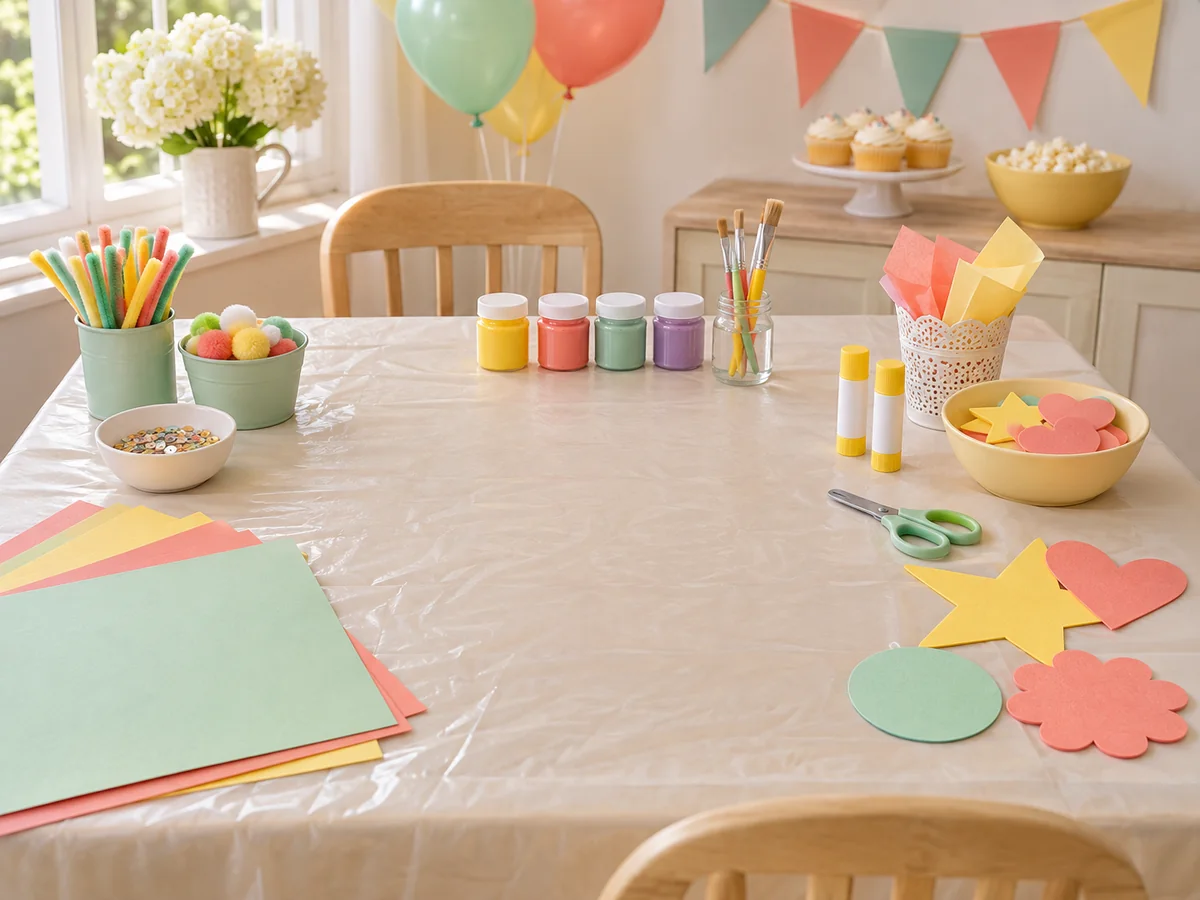
Before guests arrive, sit in a few seats to check that the supplies are within reach. Make sure helpers can get around the table and there's a clear path to the drying area for wet turkeys. Cover the table and keep wipes and trash bags nearby. Our tips for organizing a craft station cover the rest.
Help each guest write a caption
The caption is where the joke comes in. Start with this line: My turkey is not a turkey, it is... A guest might finish it with "an astronaut looking for the moon" or "a chef making pumpkin soup." These are just examples. Each child can make up their own explanation.
Children can write captions while the glue sets. Offer these starters to anyone who gets stuck:
A child who is not writing yet can tell an adult or a buddy what to write. Put each caption next to its turkey in the gallery. A simple caption card has three lines to fill in: Turkey's name, My turkey is not a turkey, it is, and Because.
- You cannot prove I am a turkey, because I am busy ___
- If you look for feathers, you will only find ___
- The farmer walked right past me because I was ___
- Nobody checks the ___ at Thanksgiving, which is exactly where I hide
- Gobble? I have never said that word in my life. What I say is ___
- Hire me for ___ and I will work for breadcrumbs
Worked example: a 45-minute session for eight guests
This example timetable assumes eight guests, with the bases and costume pieces prepared ahead of time. Larger disguises may need longer. The ten minutes for drying are a pause to check the crafts, not a promise that every glue joint will be dry.
The five steps add up to 45 minutes: 5 + 20 + 10 + 5 + 5. If a turkey is wet or unfinished, keep it aside while the vote runs, then add it to the gallery or bag it later.
| Time | Step | What you do |
|---|---|---|
| 0 to 5 minutes | Pick disguises | Show the samples, deal one card per guest and allow one trade |
| 5 to 25 minutes | Decorate the turkeys | Help with costume pieces and refill all three trays ten minutes into decorating |
| 25 to 35 minutes | Write captions while crafts dry | Set finished turkeys aside and help guests finish their captions |
| 35 to 40 minutes | Display and vote | Hang the dry crafts with their numbers and captions |
| 40 to 45 minutes | Count votes and give ribbons | Give every turkey a title and bag the crafts that are dry enough to travel |
How long does the craft take?
Quick answer: Allow about 45 minutes for eight guests with pre-cut supplies. Elaborate disguises or glue that is still wet may need longer.
The 45 minutes assumes you do the cutting beforehand. If guests cut all their own pieces, or several choose a larger disguise such as the hot-air balloon, plan for a longer session. A bigger group, such as a classroom, also needs more time for the gallery and vote count.
If you need something for early finishers while crafts dry, a quiet game such as Thanksgiving picture bingo can fill the time.
Not every early finisher will want to play bingo. Paper and crayons for drawing are another option and don't involve starting another glue project. These craft party ideas include setting out paper, crayons, stickers or puzzles as a quiet activity.
Display the turkeys and run the vote
Number each turkey in the gallery. Put three containers under each one, labelled Best Costume Change, Most Likely to Fool a Farmer and Funniest Face.
Give each guest three voting chips, one per category. Dried pasta, buttons or dot stickers can all work for older children. If you use stickers, put out a voting sheet instead of containers. Each guest places one vote in each category next to the turkey they choose.
If children under three or children who mouth objects are taking part, do not hand them loose chips, and keep the containers out of their reach. Instead, an adult can hold that child's votes, ask them to point to the turkey they like for each category, and place the vote for them.
Count each category separately and give its winner a paper ribbon. If there is a tie, both turkeys get a ribbon. Give every other turkey a descriptive title too, such as "Turkey with the Tallest Hat" or "Turkey Ready for Space," so every child takes home a turkey with a title. These titles are only suggestions, not extra voting categories.
Before the vote, explain how it works: each category has a winner, tied turkeys both get a ribbon and every turkey gets a title. Knowing that ahead of time can help children focus on the gallery rather than on winning, though some may still feel disappointed. For more on setting expectations, see how to keep party games from getting too competitive.
To keep track, use a simple results sheet with columns for entry number, guest or turkey name, costume votes, farmer votes, funny-face votes and ribbon or title.
How do I pack the turkeys to take home?
Quick answer: Set finished crafts aside for about ten minutes, then check the glue. Put dry turkeys into gallon zip bags with the names facing out, and give wet ones longer.
A finished turkey with the child's name on it can be the take-home favor, so you may not need a separate favor bag. It still has to be dry before you pack it. Our guide to activities that double as the favor covers setting aside space for projects to dry away from food and gifts.
With the names facing out, parents can find the right bag at pickup without opening it. Pieces that are cotton balls, foil or heavy cardboard may hold glue longer, so press gently to check before bagging.
If a turkey is still wet when guests leave, keep it flat to finish drying and arrange for it to go home later.
Plan ahead in case a turkey isn't dry in time. Choose a protected spot where it can lie flat, and decide how it will get to the family later. If moving a wet turkey could damage it, include it in the gallery where it's drying. Our guide to planning an art or painting party covers this kind of ending.
Checklist before guests arrive
- Count every guest who will make a turkey, then add two spare bases
- Print or draw the bases and add name lines
- Prepare the 27 disguise cards using the print controls
- Check the cards you are using for extra materials and plan paper or drawn swaps
- Cut some hats, clothing and costume pieces in advance
- Stock three trays for eight seats and keep refills nearby
- If very young children are coming, plan a seat with an adult, out of reach of small pieces, and adult-placed votes
- Display two sample turkeys
- Clear a drying spot and a wall or door for the gallery
- Set out three labelled voting containers for each gallery entry
- Prepare paper ribbons, caption cards and take-home bags
| Entry number | Guest or turkey name | Costume votes | Farmer votes | Funny-face votes | Ribbon or title |
|---|---|---|---|---|---|
| ______ | __________________ | ______ | ______ | ______ | __________________ |
| ______ | __________________ | ______ | ______ | ______ | __________________ |
| ______ | __________________ | ______ | ______ | ______ | __________________ |
| ______ | __________________ | ______ | ______ | ______ | __________________ |
| ______ | __________________ | ______ | ______ | ______ | __________________ |
| ______ | __________________ | ______ | ______ | ______ | __________________ |
| ______ | __________________ | ______ | ______ | ______ | __________________ |
| ______ | __________________ | ______ | ______ | ______ | __________________ |
Turkey’s name: ______________________________
My turkey is not a turkey, it is: ______________________________
Because: ___________________________________________________