How do I plan an art or painting party?
Quick answer: Pick one main project your child is excited about, such as a small canvas, a poster or a paper collage. Before the party, make a sample with the same materials to see which steps need help and how long it takes before it can go home. Plan the room around a covered work table, a labelled drying space, a separate food area and a quiet drawing corner. Give everyone a food break away from the supplies. End with a gallery walk that includes every child's work, then send each piece home flat or arrange to drop it off later.
Plan an art party around one project
Start with the project, because it decides almost everything else: how much table space you need, how many places you can offer, which supplies to buy and whether the art can go home at pickup. Choose one main project with your child instead of buying supplies for every idea. One main project plus one quiet alternative is usually enough. Add another activity only if you have the time, space and help to run it.
Make a test version at home with the exact paint, glue, paper or canvas the guests will use. It shows you which steps children may need help with, how much room each child needs and how long the piece takes before it can be carried home. If the sample needs more time than your party allows, change the project now rather than on the day.
Then plan the rest in the order guests will go through it: an arrival drawing activity, the main project, a food break away from the supplies, a gallery walk, cake and pickup. The worked example below puts these steps into an illustrative two-hour party.
How do I choose a project children can finish before pickup?
Quick answer: Test it first with the same materials and surface the guests will use, including the time and care needed before it can travel. A small canvas, poster or collage is often easier than a project with several drying stages.
Keep the first version simple enough to finish in one sitting. Post the main steps where children can see them, and offer an optional border or title for anyone who finishes early. That gives fast finishers more to do without opening another station.
Follow the instructions for your paint, glue and surface, and use your test to see how long the piece takes and how it handles before it can travel. Don't count on a fixed number of minutes.
What if the guests are different ages?
Quick answer: Use the same materials and offer simpler and more detailed versions of the project.
For a collage, some children can arrange shapes you cut out beforehand while others cut their own shapes and add a background. For painting, guests can stop after a few colors or keep adding details. Let each child's abilities and preferences guide how much help you offer.
Choose a painting, collage or drawing project
Every child needs their own place to work, and you can demonstrate the basic steps. A sample shows how the materials work, but it shouldn't become a picture everyone has to copy. Children can use the same supplies and still make completely different pictures.
Painting: put each child's name on the back of the canvas board or poster paper before you open the paint. Offer a few colors and an optional starting idea, such as an imaginary animal, a garden or a picture made of lines and dots. Children who want to keep going can add a background, border or title.
Paper collage: invite children to make a house, creature or landscape from paper shapes. Cut some shapes in advance for guests who would rather arrange and glue than cut. Try your glue and paper together before party day. A collage with wet glue still needs a place to dry, so it may not be ready to pack the moment the last piece goes on.
Card or bookmark: children can draw an animal, cover the card with a pattern or write a message inside. This works well if you'd rather avoid wet paint. Make glue optional if you want to skip the drying step altogether. You can also offer a card or bookmark beside the main project for children who prefer drawing.
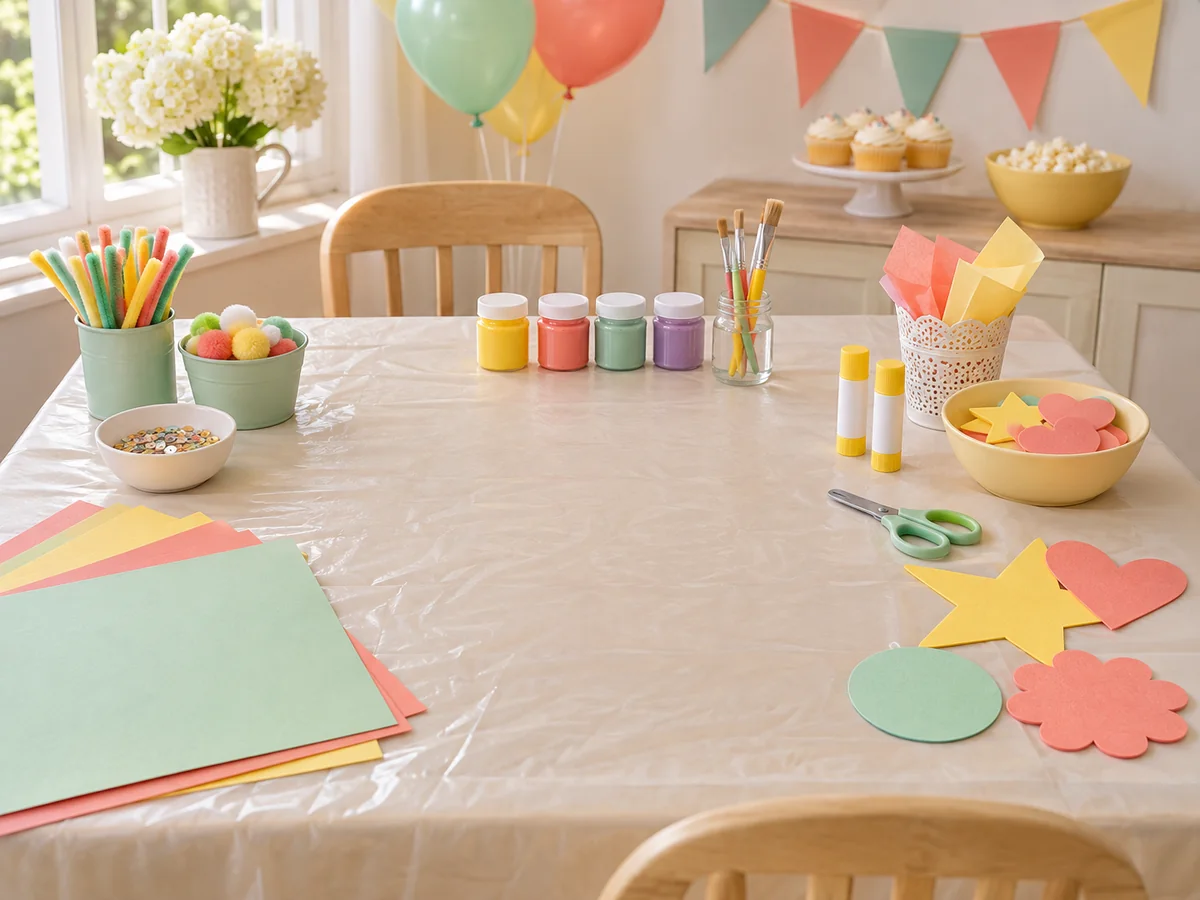
| Project | Have ready | Drying to plan for |
|---|---|---|
| Small canvas or poster | Canvas boards or poster paper, washable paint, brushes, paint containers, table covering | Wet paint; test how long it takes and how to carry it |
| Paper collage | Paper or card for the base, colored paper, glue, optional stickers | Wet glue; leave space for it to rest |
| Card or bookmark | Card or paper, crayons or markers, optional stickers, bookmark shapes cut beforehand if useful | None if you skip glue |
Set up the art table and a drying area
Cover the work table and place supplies where children can reach them without leaning across someone else's picture. Count the places before deciding how many guests to invite, and leave room for the artwork, shared materials and an adult helping with a step.
Set out a short instruction card, such as "Write your name on the back, choose your colors, then start your picture," with a sample beside it if useful. Children can start the drawing activity as they arrive. Demonstrate the painting or collage once everyone is there.
Set aside a spare table, shelf or marked area of floor for drying. Painter's tape can divide it into spaces labelled with each child's name. Keep trays or sturdy card nearby for moving finished pieces. Keep wet work flat and avoid moving it again and again to make room for food. If one table has to be used for both art and food, decide where every project and supply container will go before you clear it.
Keep a quiet table with paper, crayons, coloring pages, stickers or a simple puzzle. Have it ready from the start so children can use it when they finish, while their work dries or if they'd rather skip painting.
What if a painting is still wet at pickup?
Quick answer: Keep it flat on a named tray or sturdy card and show the collecting adult which parts are still wet. If it can't travel without damage, arrange to have it collected or dropped off later instead of trying to speed up the drying.
Decide before the party how wet work will travel, following the instructions for your paint and surface, and let families know this might happen. Don't stack pictures, lean them against other artwork, press painted surfaces together or wrap packaging against wet paint just to send everything home on time.
Choose easy food for an art or paint party
Start with foods the children already enjoy, and connect them to the theme through how you arrange them rather than with special recipes. Before you buy anything, ask caregivers which foods, portion sizes and ways of serving suit their children.
For a snack break, consider crackers with dip in small cups, cups of fruit or vegetables, square sandwiches, pretzels in individual packs and dry snacks in small cups. Add sandwiches if the party covers a lunch or dinner time; don't assume guests will already have eaten. Water can be the main drink, with one colorful drink as an optional extra.
What should I serve at a kids' art or paint party?
Quick answer: Familiar food arranged by color: a tray of fruit, vegetables, cheese and crackers, pretzel rods with small cups of thick dip, and cupcakes or cake for dessert.
At a craft-style party, fruit, vegetables with dip, pretzel packs and cookies are also options. Whatever you choose, serve it during a separate snack break.
If you want less mess, pretzels in individual packs and dry snacks in small cups are useful. Fruit and dip need a plate or cup and somewhere to sit. Keep powdered donuts, marshmallow fluff and loose sugary toppings on a table away from the art supplies.
How do I make a paint palette snack tray?
Quick answer: Group the foods on a tray in color order, then fill the gaps with neutral snacks.
For example, put strawberries and tomatoes next to carrots and cheese, then add grapes, broccoli and blueberries. Fill the remaining spaces with pretzels or crackers. Choose foods your guests will want to eat. The color order is just a way of arranging them.
What can I use for blue food on a rainbow tray?
Quick answer: Blueberries are a fresh option, and blue corn chips are a savory one.
If those don't suit your menu, keep the blue section small or leave it out. You don't need dyed food just to complete the rainbow.
How can I connect the food to the theme?
Quick answer: Use colorful arrangements, matching plates or simple labels on familiar food, and keep the real name of each food visible.
A playful label like "Paintbrush pretzels" should still say "pretzels." Repeating two colors on plates and napkins can tie the table to the room. Cupcakes can just be dessert; they don't have to become another decorating activity, although decorating them can be a simple final activity if you want one.
How do I choose food for guests with allergies?
Quick answer: Share the planned menu with families and confirm the exact products and how the food will be served before you shop.
Nut-free dips or gluten-free crackers may be worth discussing, but a label on one product doesn't mean the whole menu suits a particular child. Keep ingredient information and the agreed serving instructions with the adult serving the food. For children being dropped off, the food-allergy communication plan for drop-off parties has notes for the caregiver and the responsible adult; it does not replace a child's existing allergy action plan.
Which snacks make the least mess?
Quick answer: Pretzels in individual packs and dry snacks in small cups are good choices. Fruit and dip need a plate or cup and somewhere to sit.
Keep powdered donuts, marshmallow fluff and loose sugary toppings for a table away from the art supplies.
Keep food and art supplies apart
Plan a separate food break instead of letting children eat at the art table. Putting supplies down, washing hands and moving to another area marks a clear break, and the art can keep drying while children eat.
Should children eat while they paint or craft?
Quick answer: No. Plan a separate food break: clear or cover the supplies, have children wash their hands, then serve food somewhere else if you can.
If you have only one table, clear it fully before putting food out, and plan where the wet projects will go first. Clear the food away before painting or crafting starts again. Children can go back to their projects after the snack break.
How do you keep glitter out of the food?
Quick answer: Keep food and serving dishes away from the craft area, clear or cover supplies before the break, and have children wash their hands before eating.
Wipes can help with spills on the table, but they don't replace hand-washing before eating.
Finish with a gallery walk and send the art home
Display every piece at a height the guests can see. Keep sticky notes and a marker ready for titles. If moving a wet piece could damage it, include it where it is drying.
If each guest takes their art home, you don't need a separate goodie bag. Add any sleeves, bags, trays or backing to your shopping list. For a guest who skips the project, you could offer a notebook or sticker sheet. Check the specific product with families who have told you about particular needs, because a nonfood favor isn't automatically suitable for every child.
How can I run a gallery walk without making it a contest?
Quick answer: Include every piece, invite each artist to share a title or favorite color with the option to pass, and ask guests to notice details instead of picking the best picture.
Playful descriptions such as "bold colors" or "a happy line" work if children enjoy them, as long as you don't rank the work. If families agree, take a photo of the display before moving the named pieces to the pickup area. Before taking or sharing any photos, check what each family is comfortable with.
Example: a two-hour painting party
This is an illustrative plan, not a promise about drying times. Eight invited children plus the birthday child means nine painting places. The two adults are not included in that count: one leads the art, and the other welcomes guests, serves food and greets the adults collecting children. The project is a small canvas with washable paint, tested at home first.
Illustrative snack menu for the food break: a palette tray of strawberries, carrots, cheese, grapes, broccoli and blueberries, with crackers filling the gaps; pretzel rods with small cups of thick dip; and water. Birthday cake is served separately afterwards. Families have been sent the menu beforehand to confirm any needs.
The time blocks are 15, 40, 20, 15, 20 and 10 minutes, which adds up to 120. If painting takes longer, shorten or skip the gallery discussion instead of expecting the paint to dry faster.
| Time | What happens | Where |
|---|---|---|
| 0:00–0:15 | Guests arrive and draw | Quiet table with paper and crayons or markers |
| 0:15–0:55 | Paint the canvas; move finished pieces to their named spaces | Covered art table, then drying area |
| 0:55–1:15 | Supplies covered, hands washed, snack break | Separate food table |
| 1:15–1:30 | Gallery walk with optional titles | Display area; wet work stays where it is drying |
| 1:30–1:50 | Cake; quiet table open for early finishers | Food table |
| 1:50–2:00 | Hand over named art and explain any wet areas or later collection | Pickup area |
Your art party checklist
- Choose one main project with your child and make a test version with the party materials.
- Check how the sample dries and travels; change the project if it needs more time than you have.
- Count the guests, table places and individual canvases or paper pieces.
- Gather supplies, table coverings, name labels, trays, packing materials and cleaning supplies.
- Send families the project, menu and anything guests should bring or wear, and confirm food and participation needs.
- Decide who welcomes guests, helps with art, serves food and greets the adults collecting children.
- Set up a named drying area, a separate food table and a quiet drawing table.
- Prepare a welcome sign, food labels showing real food names and an optional photo spot.
- Agree how wet work will get home, or arrange later collection or drop-off.