What snacks work around a party photo booth?
Quick answer: Choose snacks guests will actually enjoy, and pick ones they can put down easily before they pick up props. Fruit skewers, plain mini waffles with dip on the side, matching snack cups and sturdy plain cookies all work, with drinks alongside them. Keep the food table apart from the booth and the prop basket, put napkins next to the food, and take the group photo before you bring out frosted cake, powdered toppings or melted chocolate. If the party runs over a mealtime, add something filling and a place to sit and eat.
How to choose snacks for a photo booth party
Ask two questions about each food you're considering: will guests enjoy eating it, and can they put it down easily before they handle props? Colorful food and matching cups can decorate the table, but the menu still has to feed people. If you're throwing a teen party, ask the birthday teen which snacks their friends would actually want before you shop.
For a teen party, teen party food ideas give your teen concrete options to discuss before you shop. Ask which fruit, vegetables or salty snacks friends would like alongside the main food, and choose for appetite first, matching colors second.
You don't need many items. A few favorites, served in a way that fits around picture-taking, are enough for a snack party. Save the messiest foods for after the main group picture rather than leaving them off the menu altogether.
Whether you need a meal depends on when the party is and how long it runs. Don't assume guests have already eaten. For a party that falls between meals, snacks and drinks may be enough. If it overlaps lunch or dinner, add something filling, such as mini sandwiches or pizza squares, and give everyone a place to sit and eat.
Check both the start and finish times against usual mealtimes before settling on snacks alone. Whether the party start time means serving a meal depends on that whole stretch, and whichever you choose, say so on the invitation.
Snacks and drinks to serve between pictures
These ideas give you different ways to serve fruit, baked snacks and drinks without making every item a decorated dessert. Choose a few and check their ingredients against your guests' food needs before you buy anything.
Fruit skewers: alternate seasonal fruit in four or five colors, such as strawberry pieces, melon, pineapple and berries. Have a tray ready and leave space for guests to put down finished skewers. Fruit can be juicy, so keep napkins next to the tray. Fruit cups work instead if you'd rather not use sticks.
Mini waffle stacks: stack plain mini waffles on a tray, or skewer a few together. Put syrup or other toppings in separate dip cups instead of pouring them over the whole batch. Guests can take plain waffles before pictures and add toppings at the later food break.
A waffle bar with toppings shows a simple serving setup that suits mini waffles too: plain waffles, fruit with its own spoon and syrup on a small tray to catch drips. Use what fits your afternoon party, without turning it into a brunch.
Matching snack cups: fill cups with a cereal, candy or pretzel mix the birthday teen likes, and line them up in rows. Label each mix so guests know what they're taking. Save chocolate-coated or powdered snacks for after the group photo if you want fewer sticky fingers near the props.
Plain cookies: if guests want to hold a cookie in a picture before eating it, pick sturdy, plain or lightly decorated cookies with no powdered sugar or soft frosting. Keep them on the food table, not in the prop basket. Frosted cookies can come out with dessert.
Yogurt parfait cups: layer yogurt and fruit in clear cups, with granola on the side for guests who want it, and set a spoon by each cup. Keep them covered and stored the way the ingredients need until serving. They suit a seated snack break, so guests can finish eating before going back to the booth.
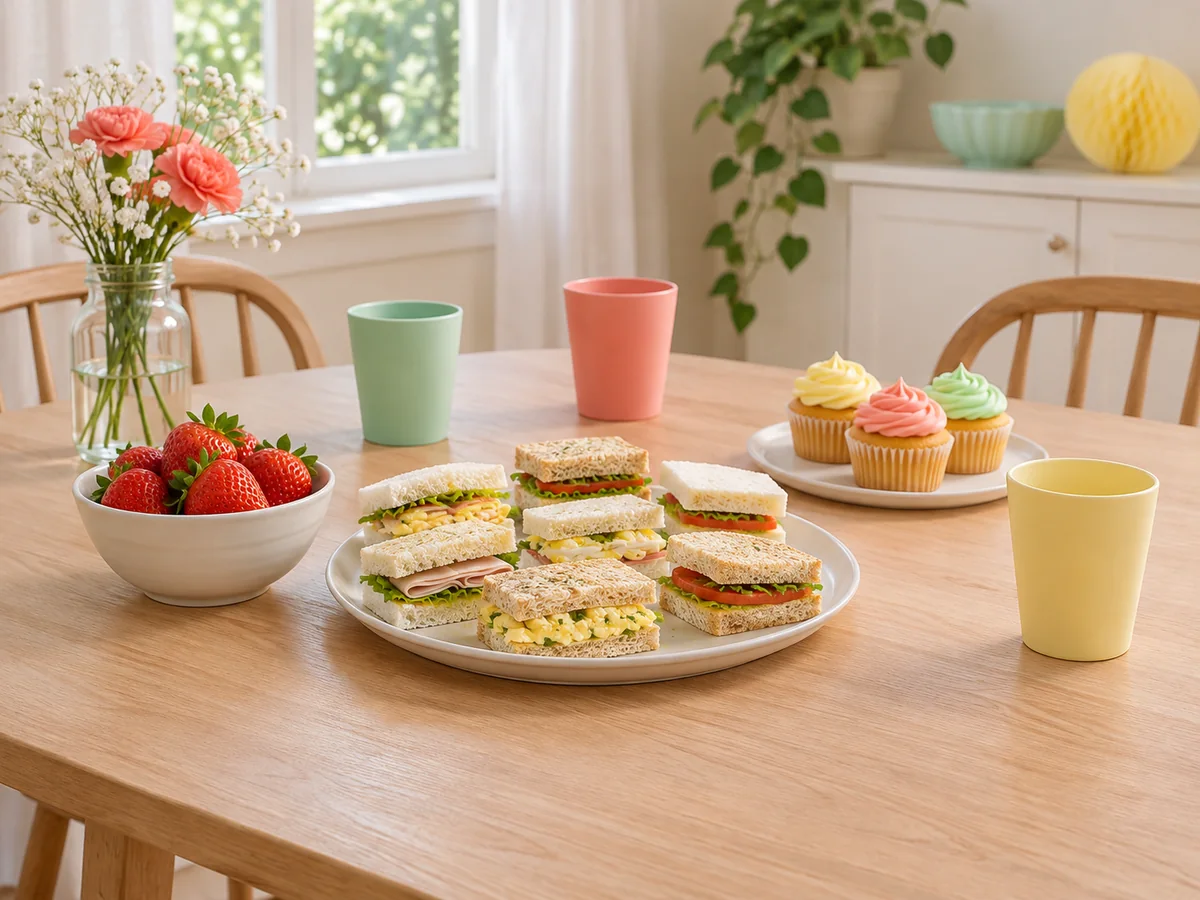
What do you serve at a photo booth party?
Quick answer: Try fruit skewers, mini waffle stacks, snack cups and plain cookies, with drinks alongside them. Parfaits work for a seated snack break. Ask the birthday teen which foods friends would enjoy, and serve cake or messy toppings after the group photo.
Pick from these based on what guests like and what time of day the party is. If it runs over a mealtime, add something filling and a place to eat as well as these snacks.
Compare preparation and serving times
Use the times below as rough estimates to help you set aside time for putting the snacks together. They aren't tested recipe timings and don't assume a batch size. Allow extra time for shopping, cooking, cooling and bigger batches.
| Option | What to have ready | Rough prep estimate | When to serve it |
|---|---|---|---|
| Fruit skewers | Fruit in 4 or 5 colors, skewers, tray and napkins | 20 minutes | Before photos; guests finish eating before taking props |
| Parfait cups | Clear cups, yogurt, fruit, granola and spoons | 15 minutes | During a seated snack break |
| Mini waffle stacks | Mini waffles, optional skewers and separate dip cups | 25 minutes | Plain before photos; toppings later |
| Matching snack cups | Cups, chosen mixes and ingredient labels | 10 minutes | Before photos for plain mixes; coated snacks later |
| Juice spritzers | Clear cups, juice, fizzy mixer and garnishes | 10 minutes | Alongside snacks, away from the camera line |
| Frosted or chocolate desserts | Dessert, plates, utensils and napkins | Varies | After the group photo |
How to keep food off faces and props
The order you serve things in matters more than any single food. Put out plain snacks first, take the main group picture, and then bring out the stickier foods.
Plain snacks can still leave crumbs or sticky fingers, so don't count on the menu to keep everyone tidy. Put napkins, wipes and a bin by the food, and keep the prop basket at the booth so guests can finish a snack and wipe their hands before they pick up shared props.
How do you keep food off faces before photos?
Quick answer: Take the group photo before frosted cake, powdered toppings or melted chocolate. Serve dips on the side, put napkins near the food, and keep snacks separate from shared props. No menu guarantees a clean face, so leave a moment to check before the picture.
Before the group shot, give everyone time to put down food and drinks and check their hands and faces. A minute here saves retaking pictures later.
Set up the food table away from the booth
Keep plates and drinks out of the photo area, and keep the path to the camera clear of the food and drink lines. If you want the food table to look like part of the decorations, line up matching cups in rows, for example three rows of snack cups with the fruit tray beside them, and leave room for guests to take food without reaching across the whole table.
Match the cups and signs to the booth's colors if you like, but don't ask guests to pose across the serving line. Write the actual food name and checked ingredient information on each label; a color scheme alone won't tell a guest what's in a snack. A label doesn't mean a food suits a particular guest's needs, so confirm those needs with families before you buy.
For perishable foods such as yogurt, cut fruit or anything chilled, the FDA advises keeping cold food at 40°F or below and not leaving perishables at room temperature for more than 2 hours, or 1 hour when it's above 90°F. Put out smaller amounts and refill from storage rather than leaving everything out for the whole party.
If young children will be at the party, keep in mind that the CDC lists whole grapes, hard raw produce and popcorn as choking hazards for young children. Choose and prepare food to suit the youngest guests, or leave those foods off the table.
What food photographs well at parties?
Quick answer: Fruit in several colors, yogurt layers in clear cups and rows of matching snack cups give you different looks to try. Take a test photo in the party room before arranging the whole table; lighting and the backdrop affect the result.
Set out one tray or a few cups, take a picture where the party will be, and adjust before you fill the whole table. What looks good in the kitchen may look different under party lighting or in front of the backdrop.
Drinks guests can pour themselves
Pick drinks the birthday teen enjoys, then try a sample in the cups you'll use. A juice spritzer is juice mixed with sparkling water or clear soda. If you want a layered drink, test one first instead of assuming the layers will stay separate. A simple pitcher drink is easier to refill than a row of drinks made one at a time.
Put cups, ice and pitchers along the drinks table, with garnishes on a separate tray. Keep water available and leave room for refills. Set up the drinks away from friends waiting for the camera, so someone choosing a garnish doesn't hold up the next group picture.
What drinks look best in photos?
Quick answer: Try a juice spritzer or lemonade in clear cups if you want the drink's color to show. Taste a sample with the birthday teen and photograph it in the room. Choose drinks guests enjoy rather than ruling out a favorite soda because of its color.
Clear cups show off colorful drinks, but a darker soda can still look fine. A test photo in the actual room tells you more than guessing ahead of time.
Example: a two-hour afternoon party with snacks
This is an illustrative schedule for an afternoon snack party between meals, not a required timetable. The example menu is fruit skewers, plain pretzel snack cups, plain cookies, juice spritzers and water to start, parfait cups and mini waffles with dips at the food break, and cake afterward. Set out the cups, labels and props before guests arrive. The six blocks add up to 120 minutes. If guests will need a meal, move the food break earlier and serve the meal then.
- 0:00 to 0:15, welcome guests: put out the fruit skewers, pretzel cups, plain cookies and drinks as friends arrive (15 minutes).
- 0:15 to 0:45, open the photo booth: guests take pictures in small groups and go back to the snack table between turns (30 minutes).
- 0:45 to 1:00, take the group photo: everyone puts down food and drinks and checks hands and faces first (15 minutes).
- 1:00 to 1:25, food break: serve parfaits with spoons and mini waffles with dips while props stay at the booth (25 minutes).
- 1:25 to 1:45, dessert: bring out the cake (20 minutes).
- 1:45 to 2:00, wrap up: take any final pictures, gather belongings and clear the cups before pickup (15 minutes).
During booth turns, let guests choose whether to pose, hold props or help with the next group. Running photo-booth activities without social posts also means taking a test picture with the backdrop and lighting first, and keeping to the photo-sharing plan you agreed.
Checklist before guests arrive
- Ask the birthday teen which snacks and drinks their friends would enjoy.
- Check guests' food needs before buying, and keep recipe or package information for the labels.
- Decide whether you're serving snacks or a meal, and tell families what to expect.
- Take a test photo of a tray and a drink in the party room.
- Keep dips separate from the plain waffles and put spoons by the parfaits.
- Put napkins, wipes and a bin by the food, and keep the props at the booth.
- Keep the path to the camera clear of the food and drink lines.
- Choose when you'll take the group photo, and bring out frosted or chocolate desserts afterward.
- Decide who will clear the snack table and pack away the serving supplies.