How do I set up a party drink station?
Quick answer: Set out water, one other drink your guests can have, and cups they can reach. Put a tray under the pouring area and keep napkins, wipes, a bin, spare cups and backup drinks close by. Then decide who will pour or help, and who will refill the table and wipe up spills while you run the party.
If you're handing jobs to helpers, it helps to write them down. The drink station setup page has printable helper jobs for pouring, refilling and wiping, plus a before-guests-arrive check: stack the cups, set out napkins and put wipes next to the spill tray.
Choose a drink setup that fits your guests and helpers
Start with what your guests can actually use and how much help you have. A drink station can be as simple as a tray of sealed bottles or as involved as a mocktail table for teenagers. The best choice is the one your guests can manage with the adults you have available.
Water and juice boxes: put labeled water cups or small bottles at the front and juice boxes in a separate tray or cooler. Keep water easy to find and leave space for empty packaging. You'll have less pouring to do, but some children will need help opening bottles or putting in straws. Keep the spare drinks together so a helper can restock them.
Water and a juice dispenser: put cups beside the dispenser and a tray under the tap. Before guests arrive, fill a cup yourself to check that it fits under the spout and that the tap opens and closes easily. Set out a small stack of cups and keep the rest nearby.
A teen mocktail table: offer plain water alongside a small choice of drink bases and fizzy mixers. Put garnishes on a side tray so guests can finish their drinks without standing in front of the pitchers. Try the recipes and measure a sample pour before you buy ingredients.
Even a self-serve setup can still need an adult nearby. If it works better for your group, you can pour the drinks yourself.
Do I need a dispenser?
Quick answer: No. Small bottles or juice boxes work if you have somewhere to keep them and a way to deal with the packaging.
A dispenser is another option. If you use one, test its tap and leave room for a cup underneath. Choose the setup your guests can use with the help you have.
Decide whether children can serve themselves
Some children can serve themselves and others will need help. Age alone won't tell you. What matters is whether each child can reach the cups, work the tap and carry a filled cup without trouble. One way to share the job: children choose a drink and an adult pours it or opens the sealed drink.
If you try self-service, test the station before the party: put the cups and drinks where children can reach them, and check whether the tap and cups are manageable when full. Our guide to a self-serve drink station children can use covers this setup, with help nearby for anyone who needs it.
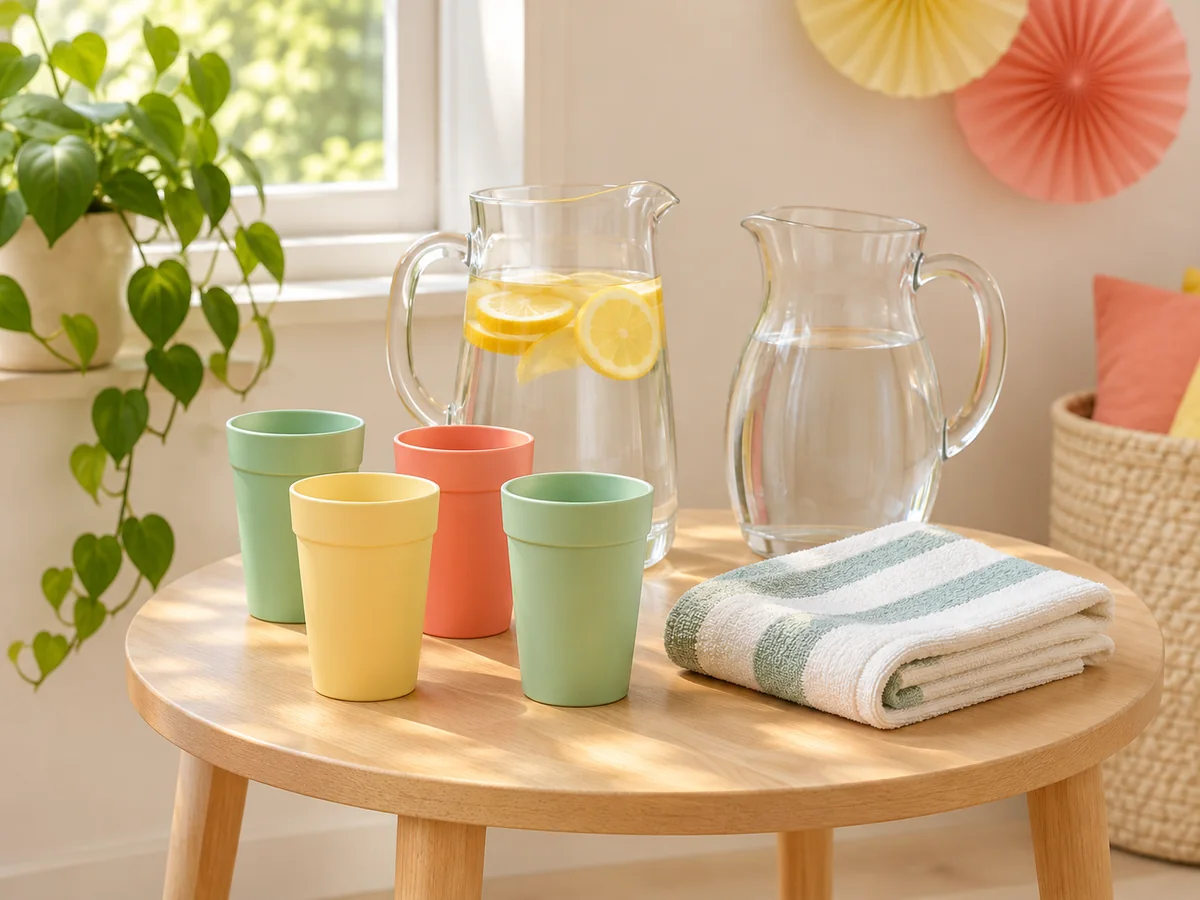
What age can use a self-serve drink station alone?
Quick answer: There is no reliable age cutoff. Test the actual cup and dispenser with the children who are coming.
A guest who can't reach the tap, close it or carry the cup needs help. Sealed drinks take away the pouring step, but opening them may still need an adult.
What is the easiest option when pouring is difficult?
Quick answer: Sealed water bottles or juice boxes, so nobody has to use a dispenser.
Choose products the families have agreed to, store them as their packaging directs, and offer help with caps and straws. Drinks can still spill once they're open.
Do I need someone at the table throughout the party?
Quick answer: It depends on your guests and equipment. Drinks that need pouring help need a helper, and someone still has to check supplies and spills.
Tell the children whom to ask for a drink. No single check-in interval suits every party. Checking at each change of activity is a useful habit, but refill sooner whenever guests ask.
Work out how much drink and how many cups to buy
Count everyone who will stay: the birthday child, any siblings or other household members who will be there, guest children and staying adults. Count each person once. If your guest list already includes the birthday child, don't add them again.
For a starting shopping amount, allow one drink plus one refill per guest. Adjust for how long the party runs, which drinks you're serving and what guests need. This is an estimate for shopping, not a limit on refills or advice on how much anyone should drink.
Illustrative example: 13 invited children plus the birthday child, and 6 staying adults, is 20 guests. Two planned servings each makes 40 servings. At 4 US fluid ounces per poured serving, that's 160 US fluid ounces, or 1.25 US gallons, before allowing for spills or extra servings. A 4-ounce pour in an 8-ounce cup leaves room at the top. Measure the pour you actually plan to use, because ice takes up room in the cup. Split the total between your drinks instead of buying that amount of each flavor.
For sealed drinks, count bottles or cartons. In the same example, 40 cartons would cover two each if those were the only drinks. Count plain water separately. For cups, start with one per guest and add spares for lost cups, changed drinks and unexpected visitors.
These are drink quantities only. If the party overlaps lunch or dinner, plan a meal as well. A snack table between meals needs much less food than a main meal.
To tell whether you need a meal, look at the whole party window, from start to finish. Our answer to whether the party start time means you need a meal suggests planning lunch as a starting point if the party runs through lunchtime.
| Illustrative item | Calculation | Amount |
|---|---|---|
| Guests staying | 13 invited children + birthday child + 6 adults | 20 |
| Planned servings | 20 guests x 2 | 40 servings |
| Poured drinks at 4 fl oz | 40 x 4 fl oz | 160 fl oz (1.25 US gallons) |
| Or sealed drinks | 40 x 1 carton | 40 cartons, plus water |
| Cups | 20 + your chosen spares | 20 plus spares |
Arrange the cups, drinks and spare supplies
Set the table out in the order guests will use it: cups, then labeled drinks, then napkins. Leave a clear space to put a cup down while pouring. Put a tray under the dispenser and keep backup drinks beside or behind the table, where the refill helper can reach them.
Keep drinks apart from the food trays so spills are easier to contain. Put the station where someone can get a drink without blocking seated guests or an activity.
Plan the drinks table and the food table together so the paths to them don't cross. Our food table setup guide covers putting water, cups and refills within reach, which helps you choose a spot where guests can get a drink without walking through the food line.
Can the drink station be indoors?
Quick answer: Yes, if you have a table guests can reach and room for them to use it.
Indoors, choose a floor that's easy to clean, use a drip tray and keep the way to the station clear. Outdoors, choose a spot away from the games and out of direct sun, decide where the station goes if you move inside, and plan where to store the drinks you bring. Only use a cooler if it suits the drinks and their storage directions. Nearby ice doesn't make a drink safe to leave out indefinitely.
If the party is outdoors in hot weather, our hot-weather party hydration station guide covers keeping water easy to reach, with extra water set aside and a pitcher and cups ready indoors if you move inside. The other drinks still need to be stored according to their own directions.
Offer water and choose any extra drinks
Keep water available for the whole party. Label each drink with its ordinary name, such as Water, Apple juice or Lemonade. If you use a themed name, put the plain name beside it. Keep the original packaging or the recipe's ingredient list at hand, especially for mixed drinks.
Before you shop, ask families about any drink requirements. Confirm the exact product or ingredients with them; don't assume a drink is suitable because it looks like another one. If you can't confirm an ingredient, say so rather than guessing. If a guest has an agreed separate drink, keep it clearly marked and tell the helper where it is.
If you're serving milk-based or other perishable cold drinks, the FDA advises keeping cold food at 40 F or below and not leaving perishable food at room temperature for more than 2 hours, or 1 hour when it's above 90 F.
Do I need several kinds of drinks?
Quick answer: No. Water and one other drink keep shopping and serving simple.
Ask about guests' requirements before you choose that second drink, and keep water out for the whole party whichever one you pick. If you want ideas to compare, the guide to party drinks for kids suggests options such as juice boxes, a pitcher of lemonade or a juice-and-sparkling-water mix. Choose one of these as your second drink rather than serving several.
Check guests' requirements before you choose the second drink. For a hot chocolate bar, one base with a few toppings is enough. Only add another drink if it meets a guest's preference or food requirement and you have a separate way to make and serve it.
Can I use a slow cooker for hot chocolate?
Quick answer: Yes, if you use a recipe written for your slow cooker and follow its instructions for making and keeping the drink warm.
Check how much your slow cooker actually holds against the amount you plan to serve. Don't assume one slow cooker will cover every guest and every refill.
Do children need to sell the lemonade at a lemonade-stand party?
Quick answer: No. Guests can order with pretend tickets or simply ask for a drink.
If you want the drinks to be an activity, our lemonade stand party ideas cover signs, taking turns serving and pretend ordering. The guide is written for an invited group of guests, not a public sale or a fundraiser.
This advice is for a party with invited guests, not a public sale or fundraiser.
When to prepare, serve and refill
Prepare drinks ahead only if the recipe or package directions allow it. Everything else can be ready early.
Illustrative schedule for a 2:00 to 4:00 p.m. party with water and a juice dispenser: two days before, buy shelf-stable drinks, cups, labels and napkins, and check you have the dispenser, trays and cooler. The day before, write labels, gather supplies and tell the helper where refills are kept. At 1:00 p.m., set up the table, cups, bins and wipes and test the dispenser. Bring chilled drinks out at a time that fits their serving directions. From 2:00 p.m., the helper checks water, cups and spills at each change of activity and before cake, around 3:15 p.m. in this example. At 4:00 p.m., clear cups and pack up according to the venue's rules and the drinks' storage directions.
If guests arrive around a mealtime, serve the main food before active games. For a party between meals, you might choose fruit or vegetables, a salty snack, dessert and drinks, adding a main dish only if the party overlaps lunch or dinner. Count adults as well as children when planning the food.
What can I prepare the day before?
Quick answer: Write labels, gather cups and trays, and pack the supplies.
While you gather supplies, check what you already have for the cups, trays, dispenser and cleanup, and note what you need to buy or borrow. Our guide to party supplies to buy, borrow or prepare suggests keeping a host copy that also lists helper jobs and cleanup plans.
Only make drinks ahead if the recipe or package directions support it. Leave the helper a note saying where the drinks and spare cups are.
Should I serve hot chocolate before or after games?
Quick answer: Serve it during a seated break, and clear the cups before an active game.
If the party overlaps a meal, serve the meal too. Hot chocolate and toppings aren't lunch or dinner.
Keep the table tidy and cups easy to find
Small cups and refilling in smaller batches help keep the table manageable. Keep napkins, wipes, trash and recycling near the station without blocking the pouring space. Give a helper the refill and spill jobs, and clear abandoned cups and wipe the tray during the party instead of saving it all for the end. Check the station before cake so guests can get water without walking through the dessert area.
How do I keep the drink table tidy?
Quick answer: Put a tray under the pouring area, keep napkins, wipes and bins nearby, and give one adult the refill and spill jobs.
Write names on cups, keep spare cups where the helper can find them, and if you're serving snacks nearby, put them into portions before serving.
How do I keep guests from losing their cups?
Quick answer: Put name labels beside the cups and give guests a place to put their cups down.
Keep spare cups for anyone who loses one or needs another. Different cup colors alone won't identify every guest's drink. If cups are going home as favors, write names on them and decide where guests will collect them at pickup.
Check the drink station before guests arrive
- Count everyone staying, including the birthday child, siblings and adults, once each, and write down your drink amounts.
- Confirm the drinks with any families who told you about requirements.
- Test the tap with a real cup, or decide who will pour.
- Put water where guests can find it and keep each other drink in its own labeled place.
- Set out cups and name labels, with spare cups close by.
- Keep packaging or ingredient lists with each drink.
- Put a spill tray, napkins, wipes, trash and recycling near the station.
- Show the helper where the spare drinks are and when to check the table.